Halloween is the perfect time to watch scary movies, indulge in sweet treats and go to costume parties. But there’s no doubt that another favorite pastime of this holiday is decorating.
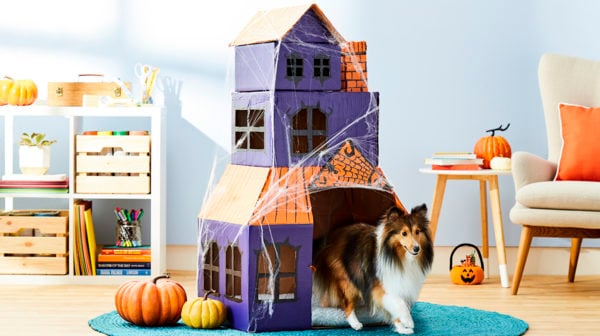
This Halloween, why not extend the celebration to your fur family? Haunted houses are always a favorite when it comes to this spooky holiday. With this DIY haunted dog house, your pup can get in on the fun, too! And it just might be a hit with all of your little four-legged trick-or-treaters.
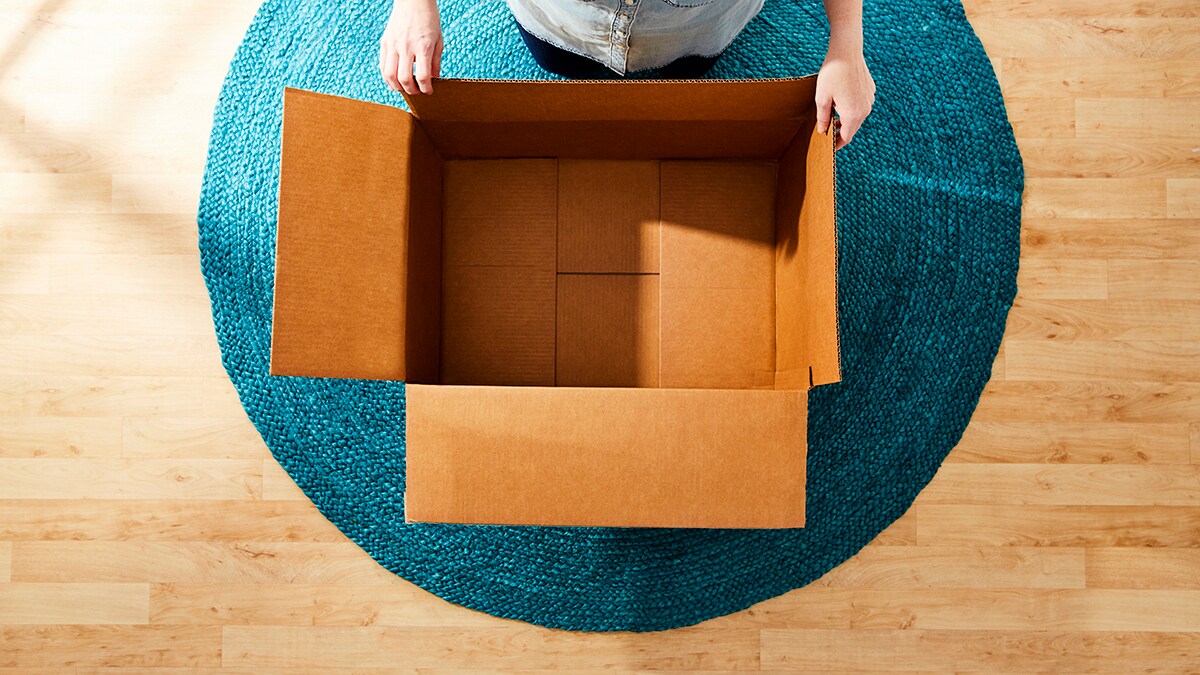
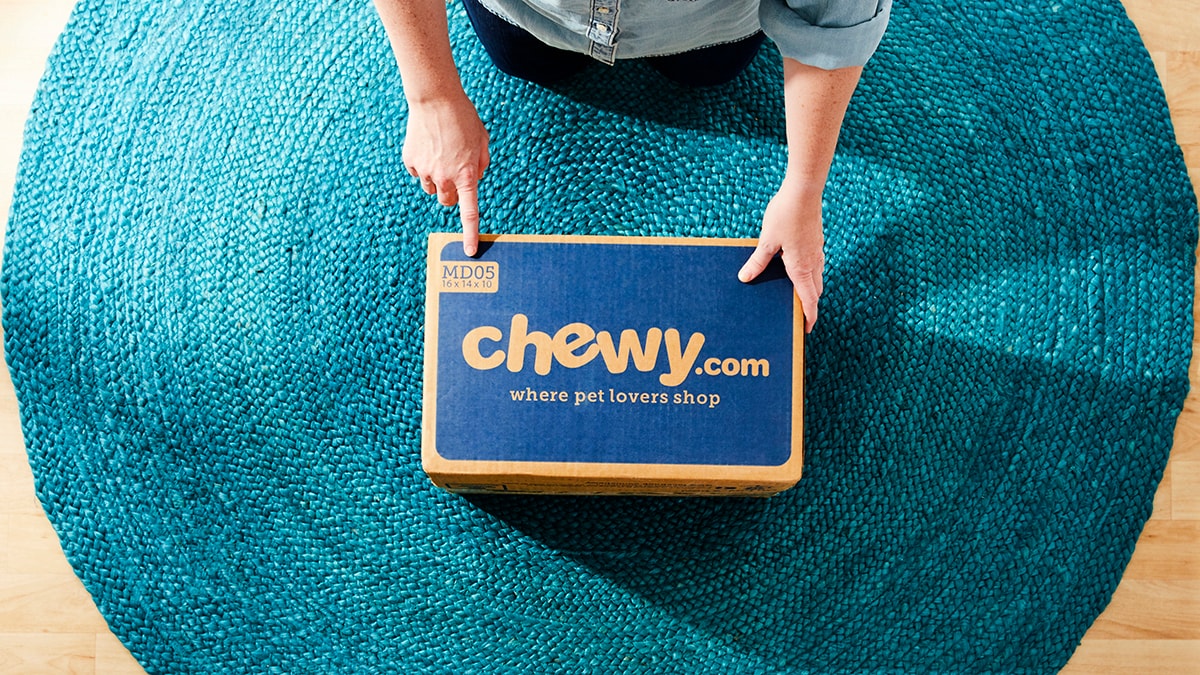
Next time you order your pet supplies from Chewy.com, be sure to save the boxes for this Halloween craft.
Materials:
- One small, medium and large Chewy.com box
- Orange, purple and black acrylic paint
- Black spray paint (hammered texture)
- X-Acto knife
- Scissors
- Black tulle
- Orange yarn
- Masking tape or painters tape
- Hot glue gun
- Optional: Fake cob webs and dog bed
Instructions:
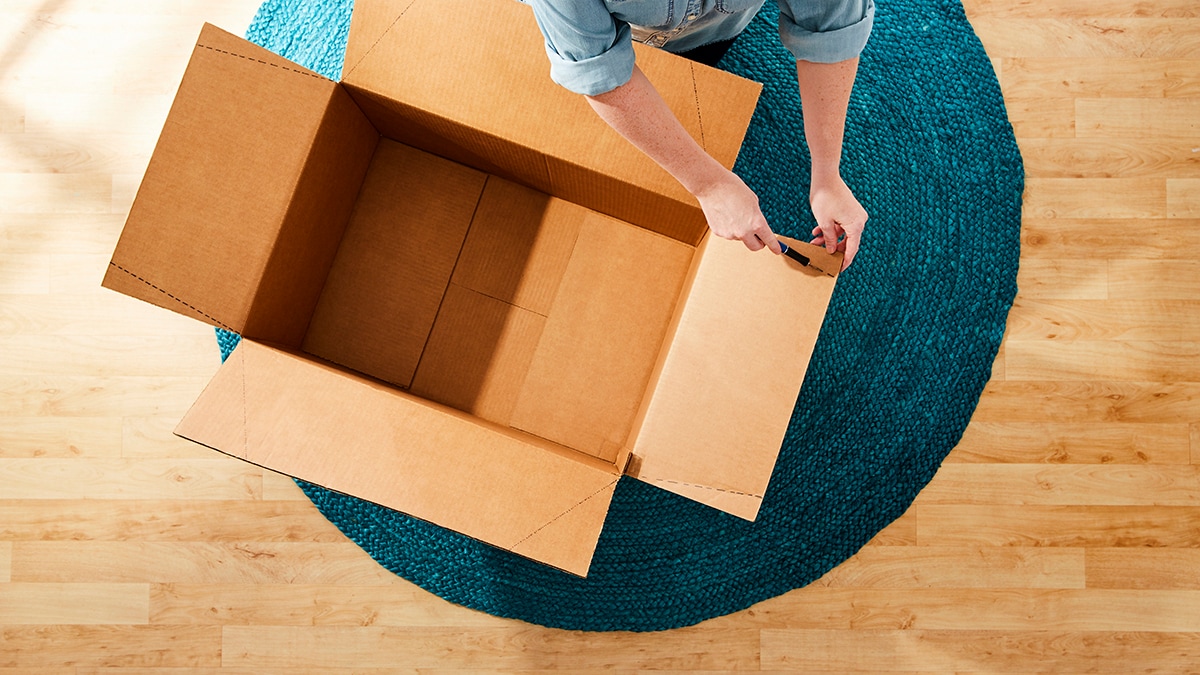
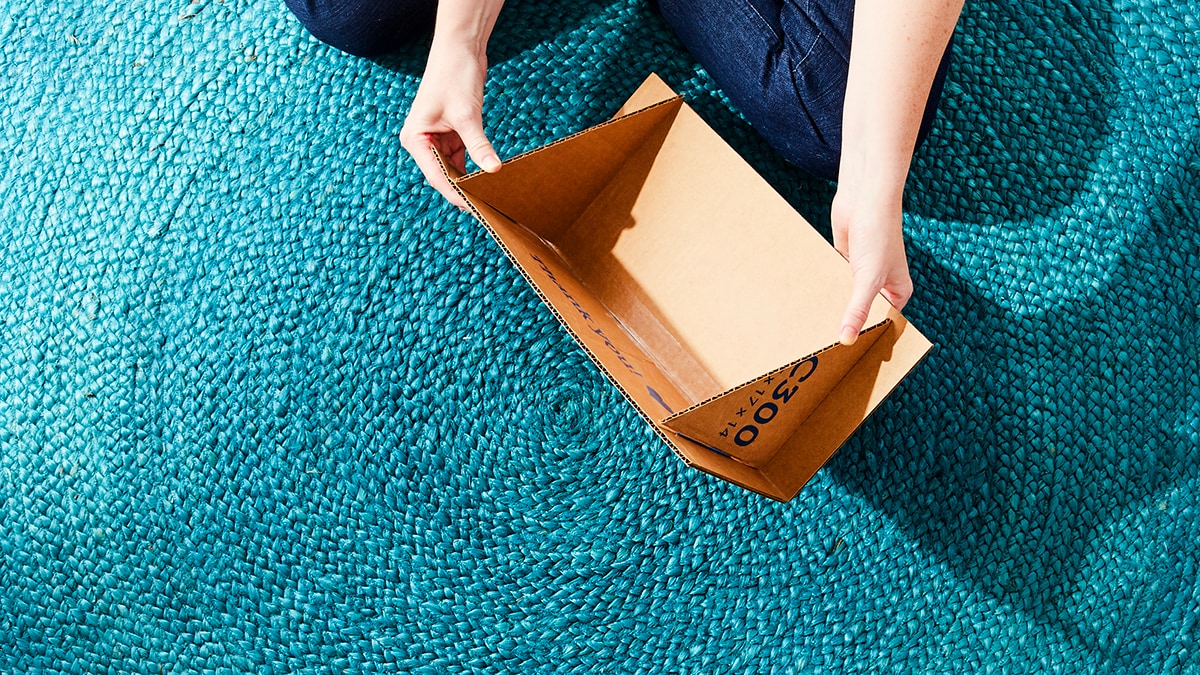
- Take the large Chewy.com box and hold the four top flaps up. They will become the roof.

via Chewy Studios
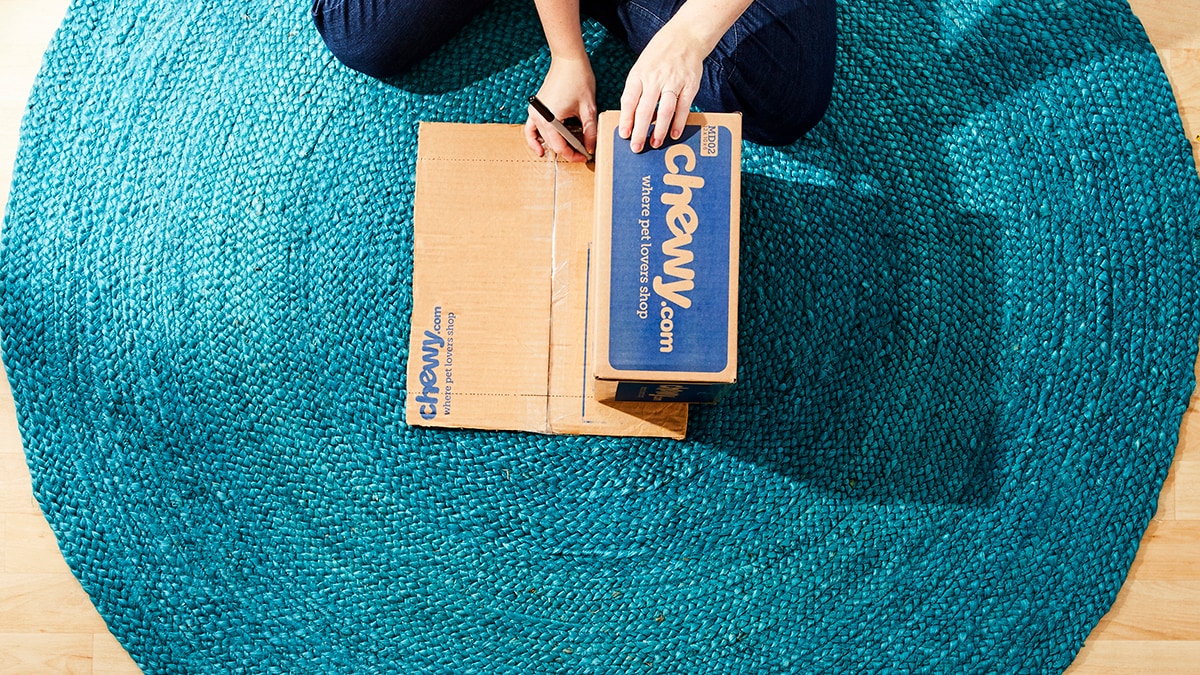
- Start with the box in front of you and one of the short flaps open. Measure 1 1/2 inches inward on the right side of the flap and mark it with a pencil. (Make the mark at the edge of the flap closest to you). Draw a line from the top right corner of the flap (where it connects with the box) down to the mark on the edge of the flap. Do the same for the left side of the flap. You should have two triangles on either side of the flap when you’re done. Repeat these steps for the other short flap.
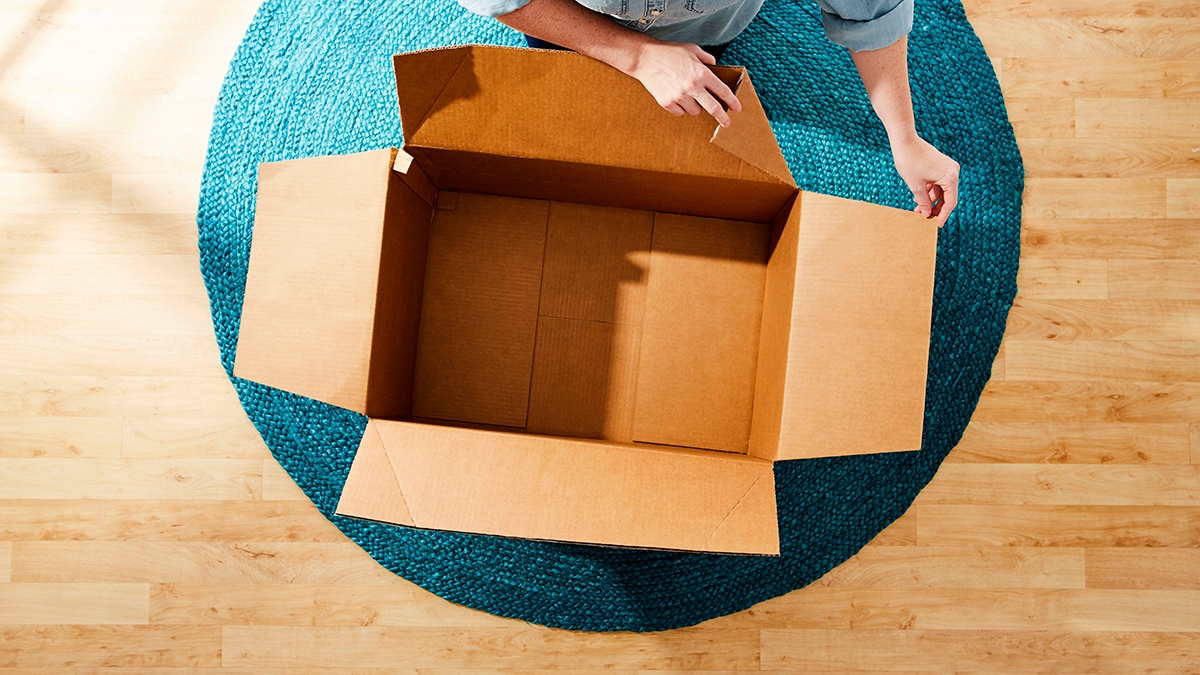
- Now we’re going to do the same thing on the long flaps, but measuring 4 1/2 inches inward. On one of the long flaps, measure 4 1/2 inches inward on both sides. Mark these points at the edge of the flap. Draw a line from the top right corner of the flap (where the flap connects with the box) down to the mark on the bottom right. Do the same for the left side of the flap. Repeat these steps for the other long flap.
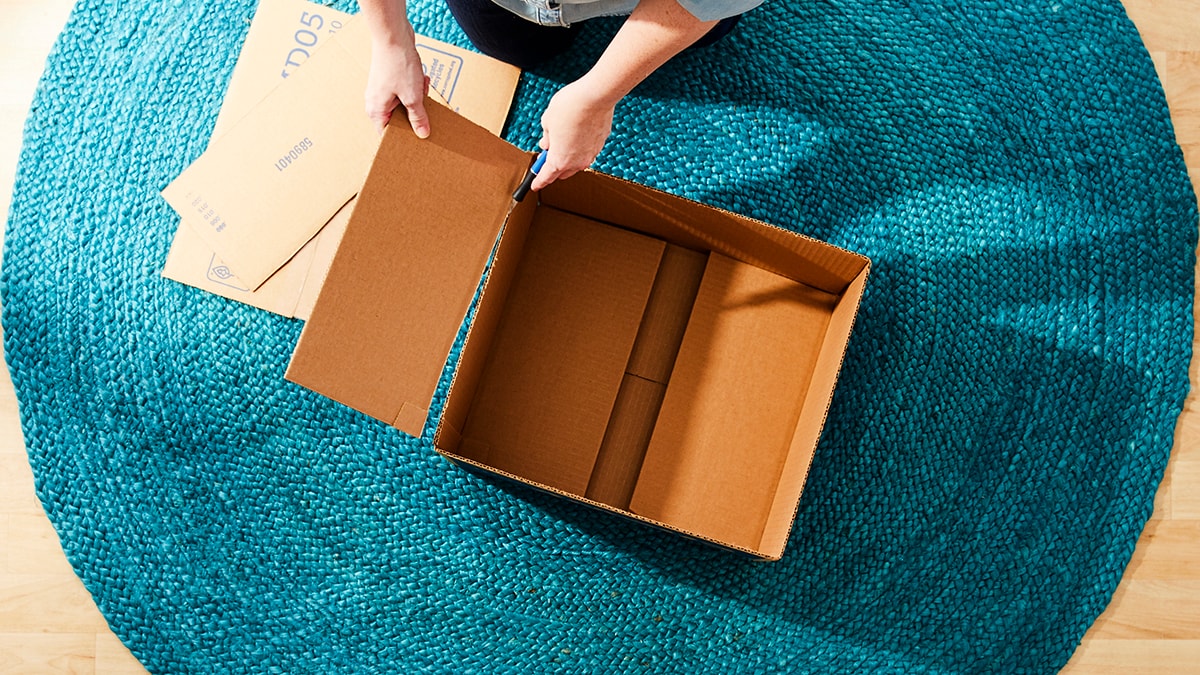
- Using the X-Acto knife (or scissors), remove the corners on the two small flaps by cutting along the lines.
via Chewy Studios
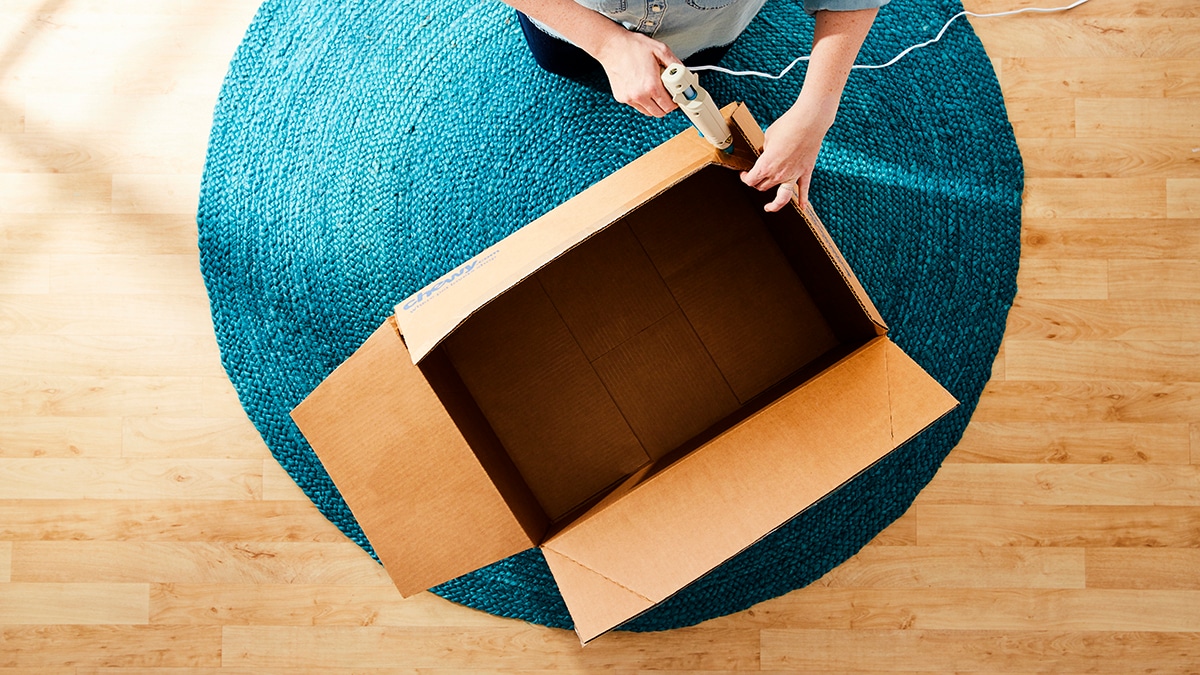
- For the long flaps, you’re not going to the corners off. Instead, lightly press into the lines you made on the long flaps without fully cutting through the cardboard (this is called scoring). Do this for all the lines on the long flaps.
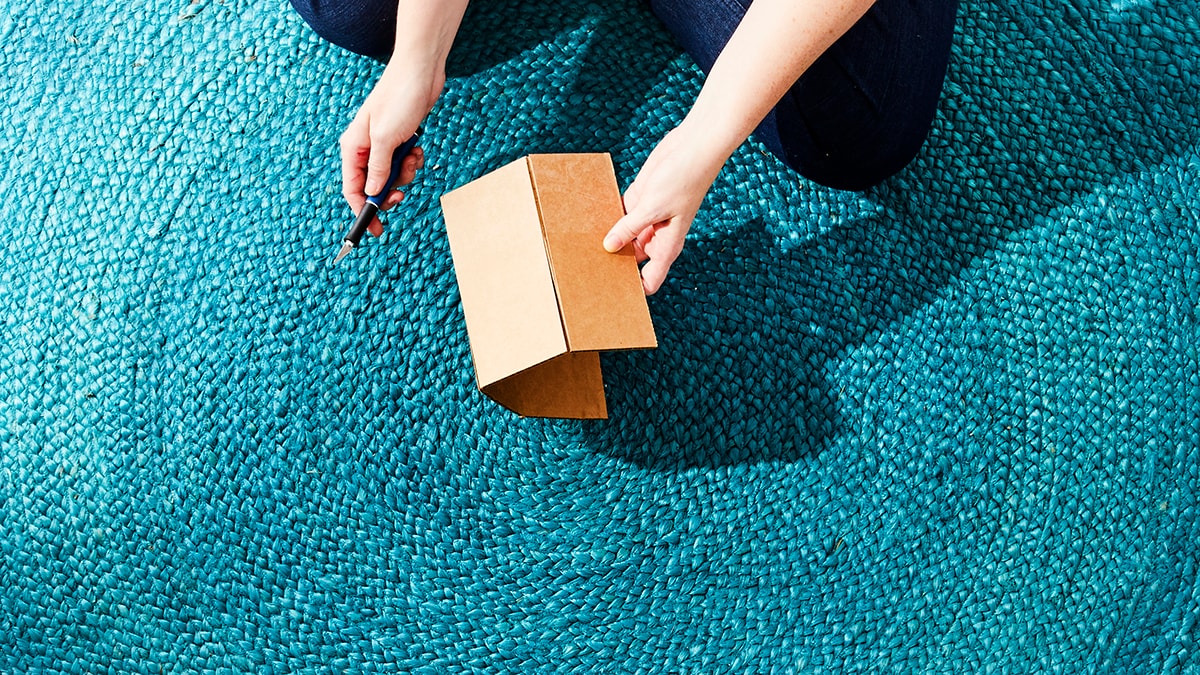
- Fold corners on long flaps inward.
via Chewy Studios
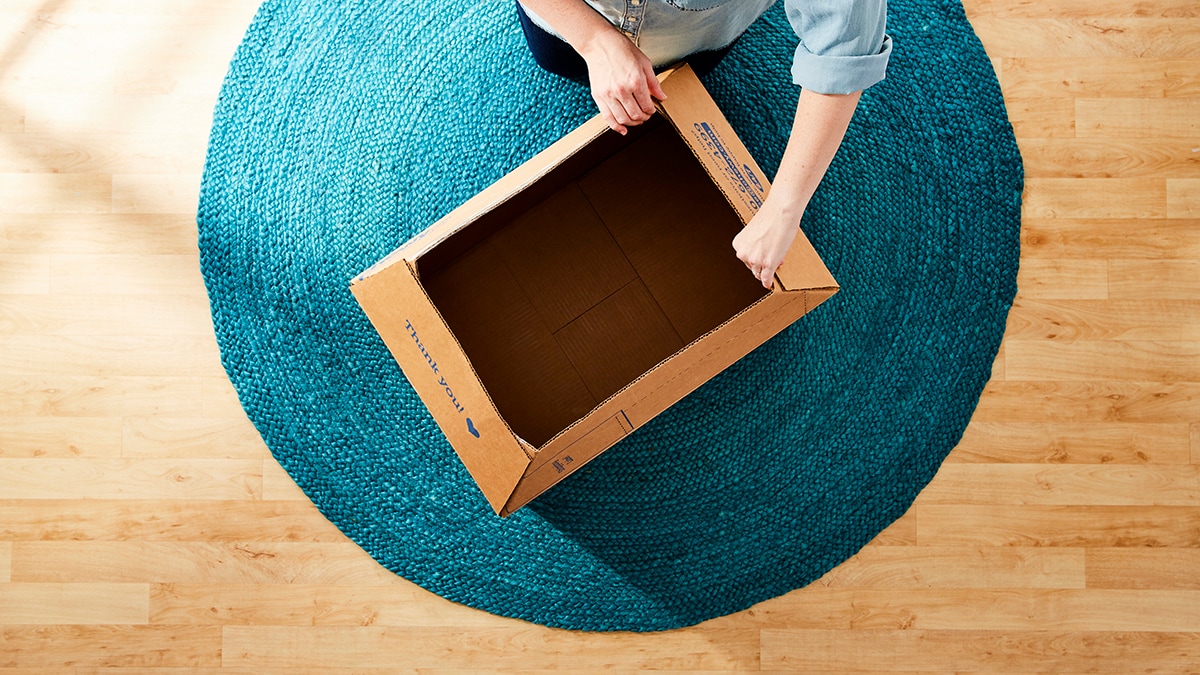
- Hot glue the short flaps to the folded long flap corners. Hold them together for about 1 minute.
via Chewy Studios
via Chewy Studios
- Set aside the large box and now move onto the medium Chewy box.
via Chewy Studios
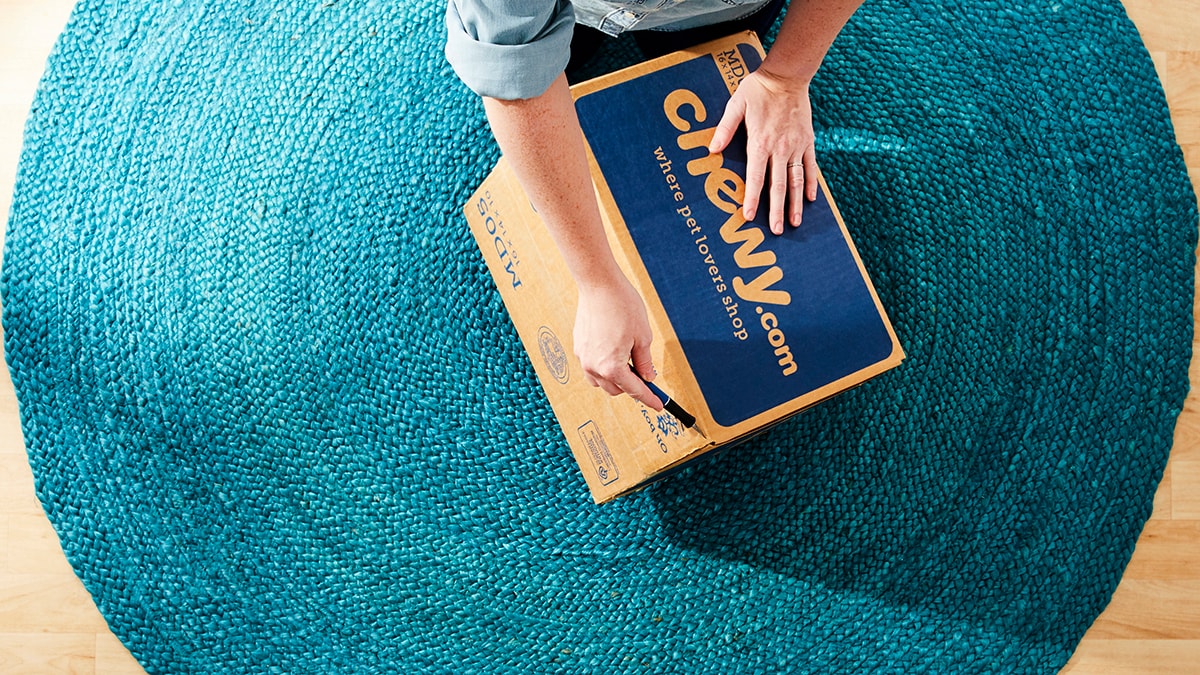
- Cut the bottom flaps off the medium box, starting with the long flaps first. The two long flaps should already be taped together but if not, you should tape them together.
via Chewy Studios
- Cut the short flaps off the bottom of medium box.
via Chewy Studios
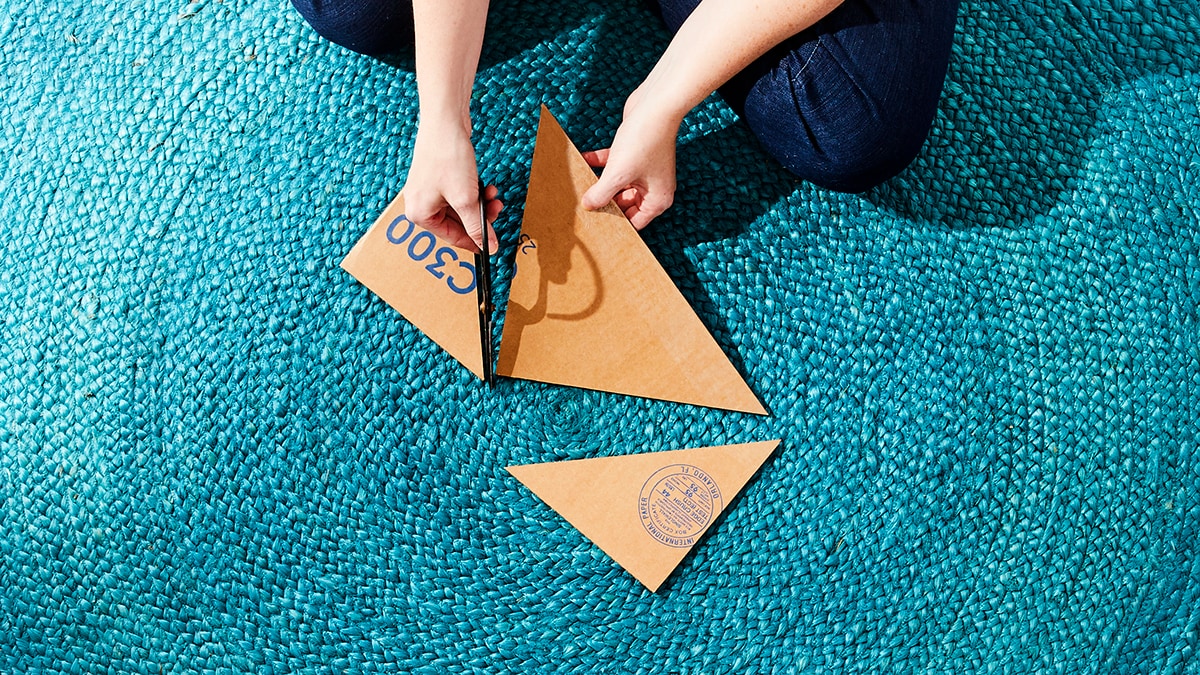
- Place the taped long flaps vertically in front of you and center one of the short flaps below the taped flaps. Take a pencil and mark on the short flap the center point of the taped flaps. Draw a line from the center mark to the bottom corner of the small flap. Repeat on opposite side. You should have two small triangles and one big triangle in center.
via Chewy Studios
- Cut out the triangles scissors. Save the triangles and the second short flap for later.
via Chewy Studios
- Take the small Chewy box and place it vertically on top of the vertical long taped flaps from the medium box. Make sure the small Chewy box is centered on top of these flaps.
via Chewy Studios
- Draw horizontal lines alongside the small Chewy box on either side.
via Chewy Studios
- Take your small triangle and hot glue the side. Now align it with the line you made on the long taped flaps, so that the top point of the triangle is facing the center where the long flaps connect. Do this with the other small triangle.
via Chewy Studios
- Glue the other side of the triangle.
- Fold the flap over so that it connects to the side. This will be your roof.
via Chewy Studios
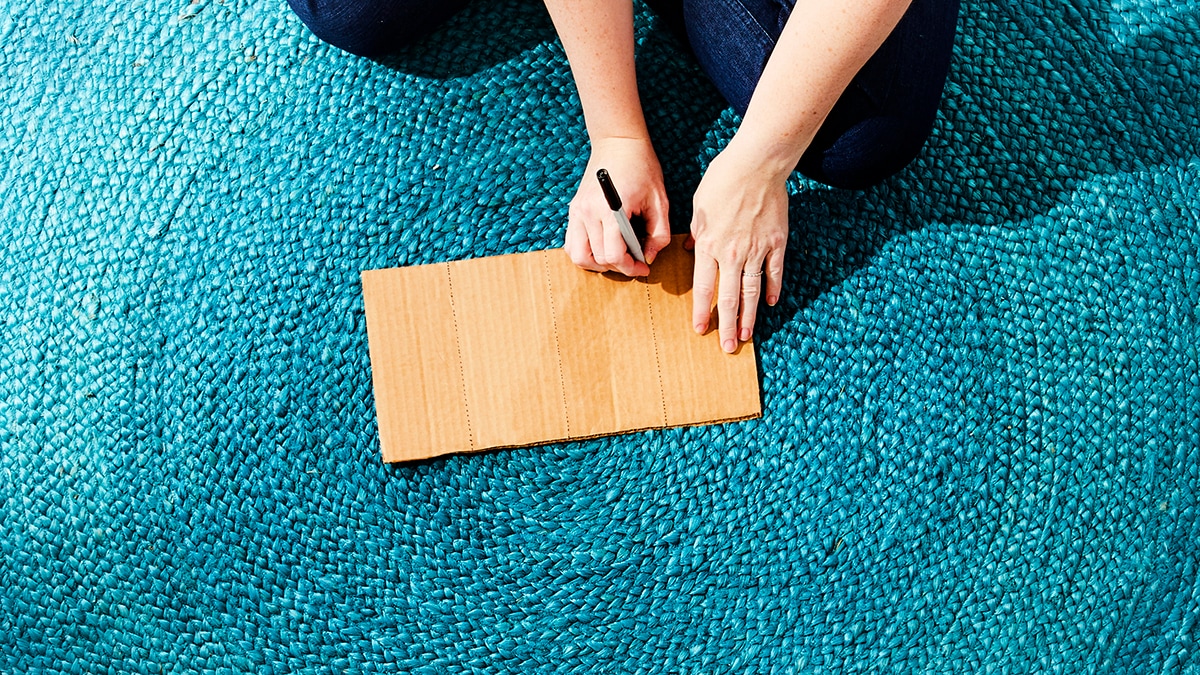
- Bring in the short flap you previously cut from medium box.
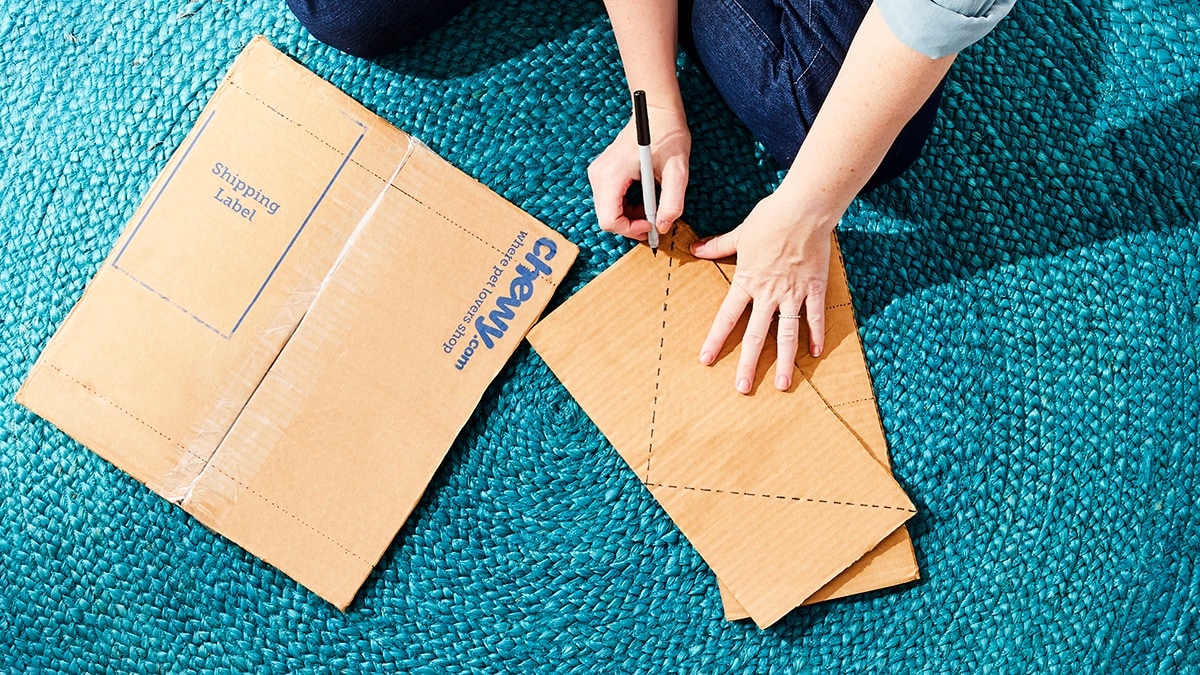
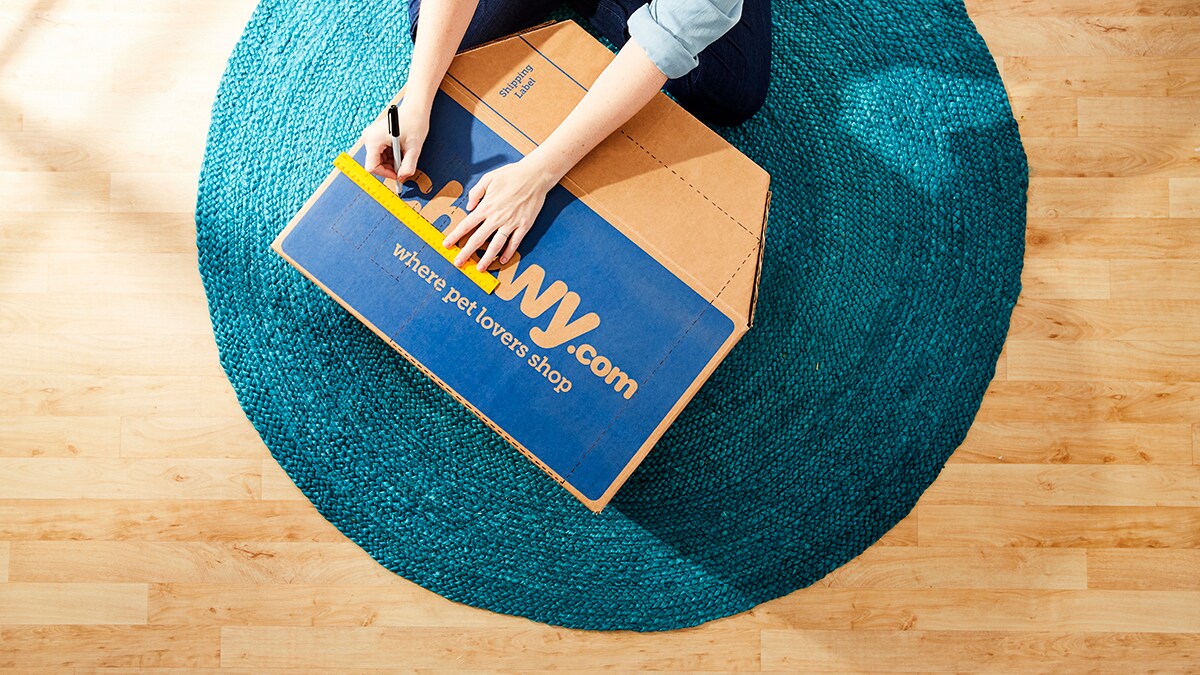
- Place it horizontally in front of you. Mark four 3 1/2 inch spaces across it.
- Using a pencil and ruler, line up your ruler with the mark and draw a line across.
via Chewy Studios
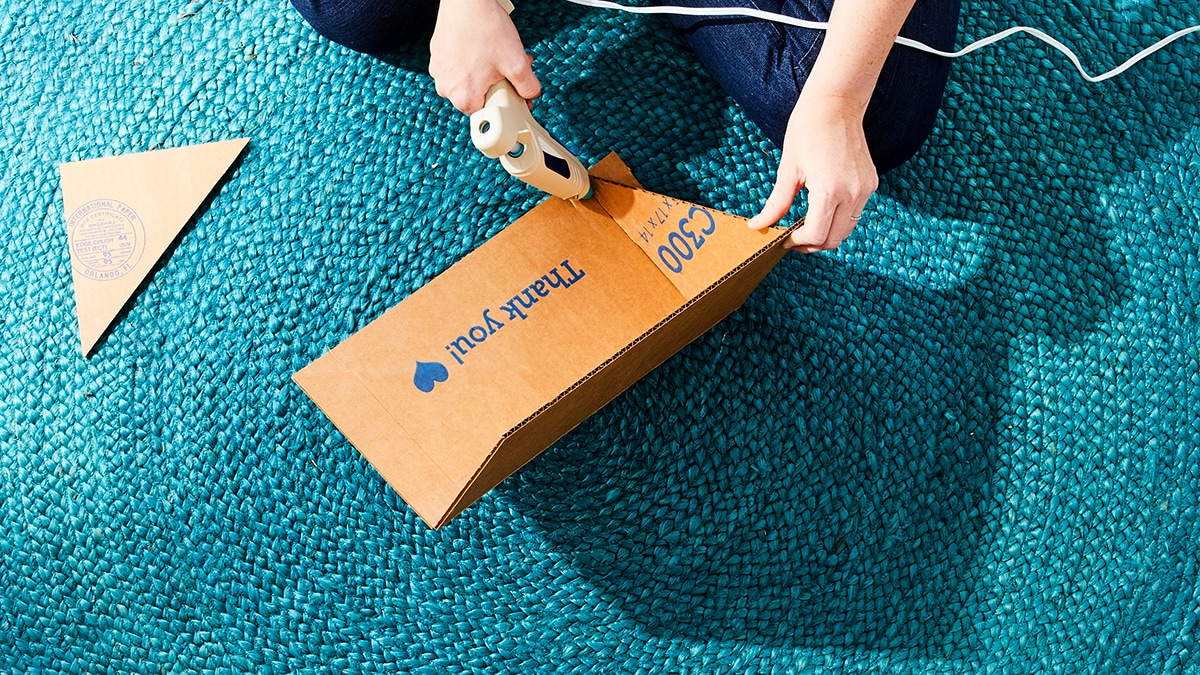
- Take X-Acto knife and lightly press onto the cardboard without cutting through (same motion as before).
via Chewy Studios
- Fold along the “scored” lines to make a chimney.
- Hot glue the edge so it stays together.
via Chewy Studios
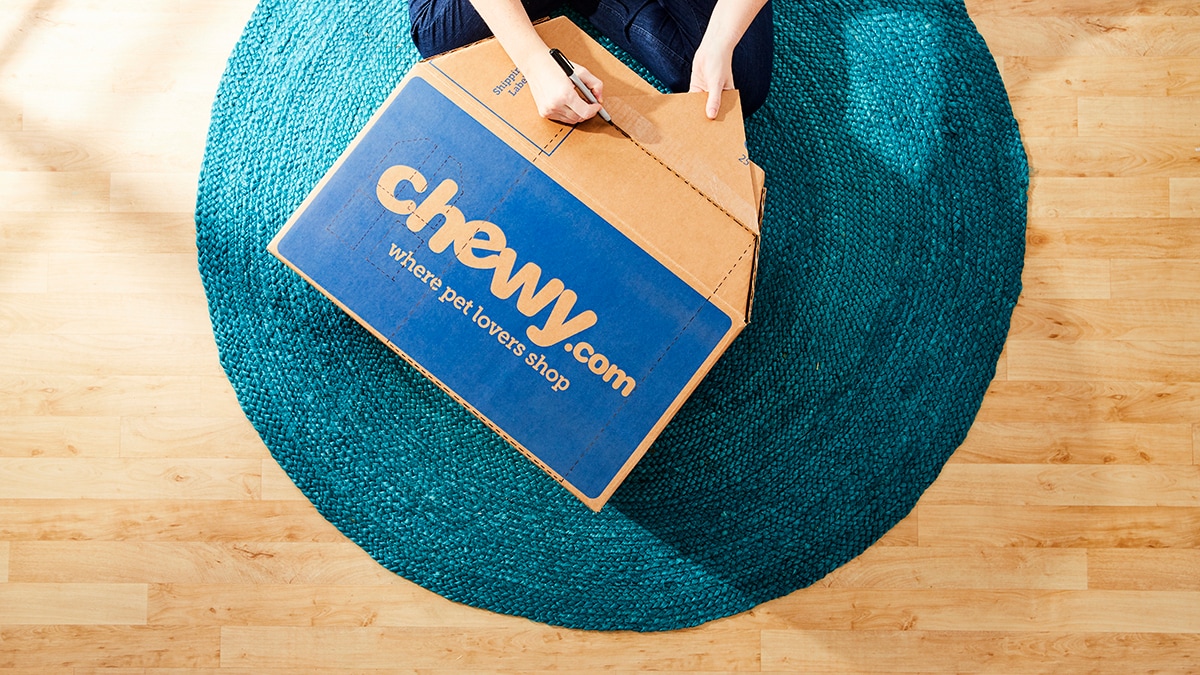
- Using your big triangle, take your large box and place the triangle 5 inches above the crease (where the flap meets the box). Mark the edges of the triangle.
via Chewy Studios
- Take a ruler and draw lines from the marks to the bottom of the box. Connect the lines at the top. This will be your door.
via Chewy Studios
- You can start drawing windows on your medium and small boxes too.
via Chewy Studios
- Cut out the windows and doors using the X-Acto knife.
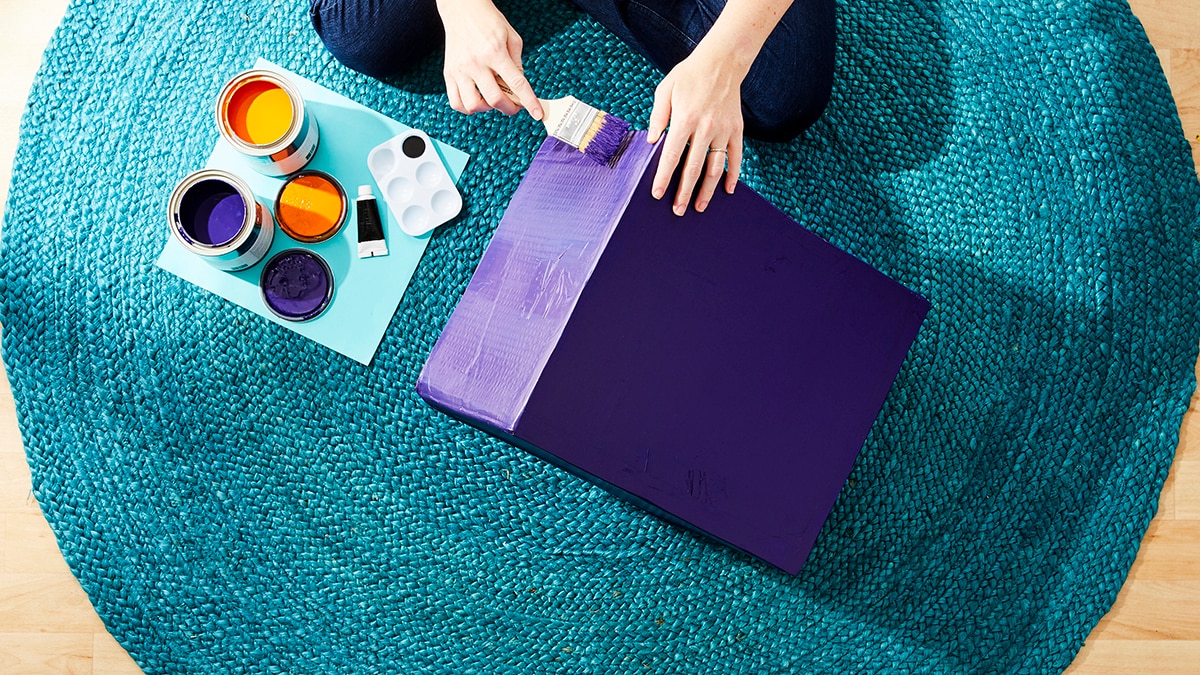
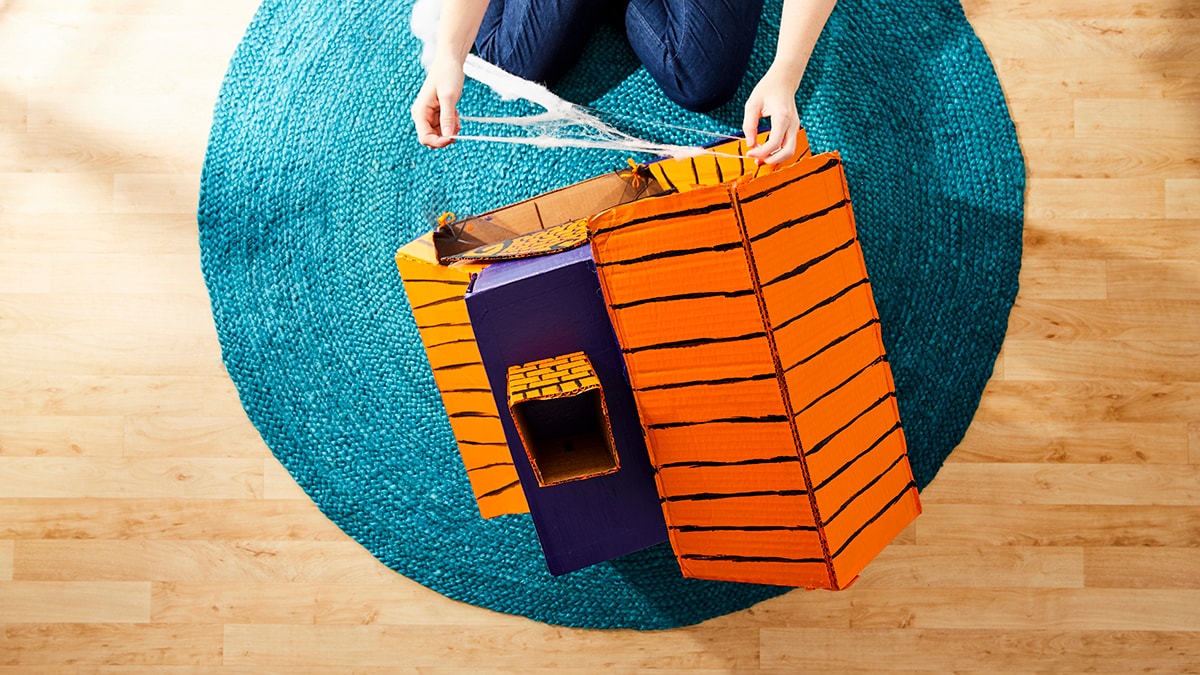
- Paint the chimney, roof and big triangle orange.
- Paint the large, medium and small boxes purple.
via Chewy Studios
via Chewy Studios
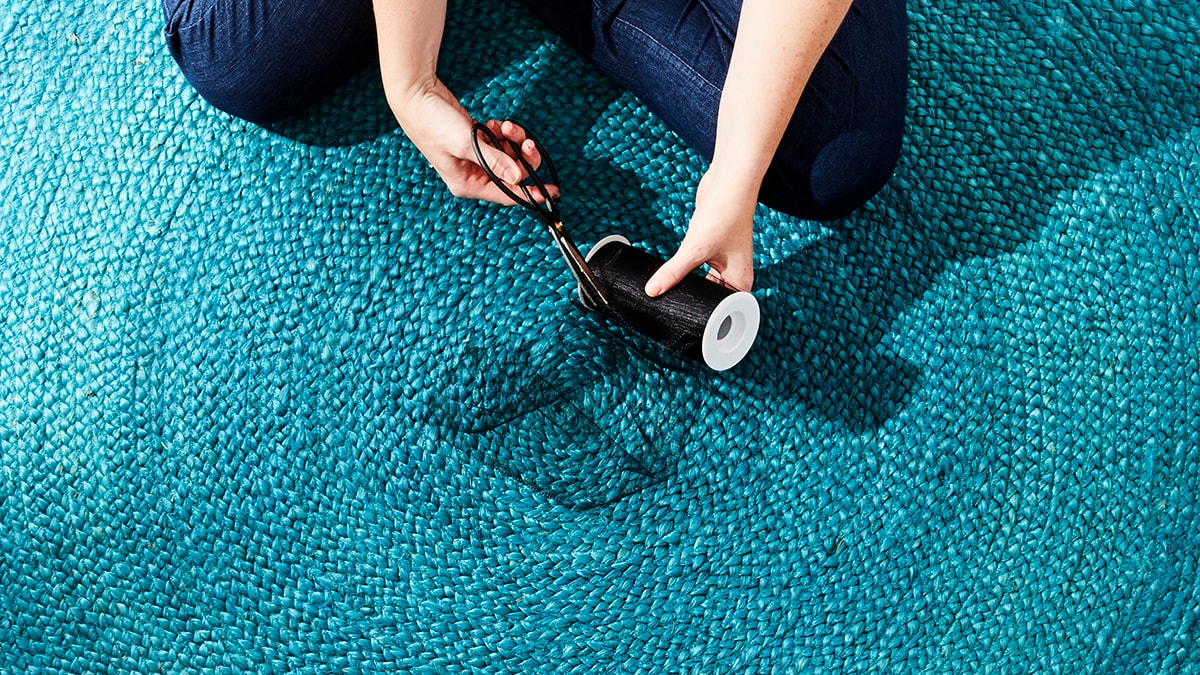
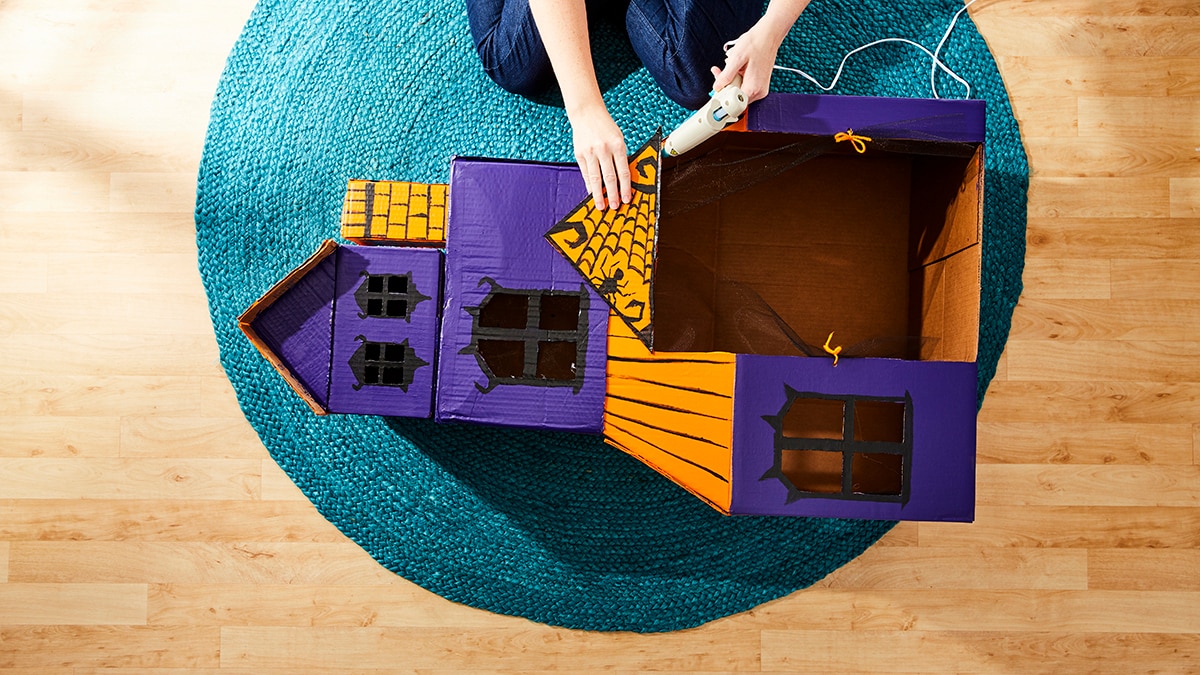
- Once everything is dry, take your black tulle and cut a 21-by-14 inch piece.
via Chewy Studios
- Hot glue the tulle above the entrance on the large box. Let dry.
- Cut the tulle in the center so it looks like a curtain.
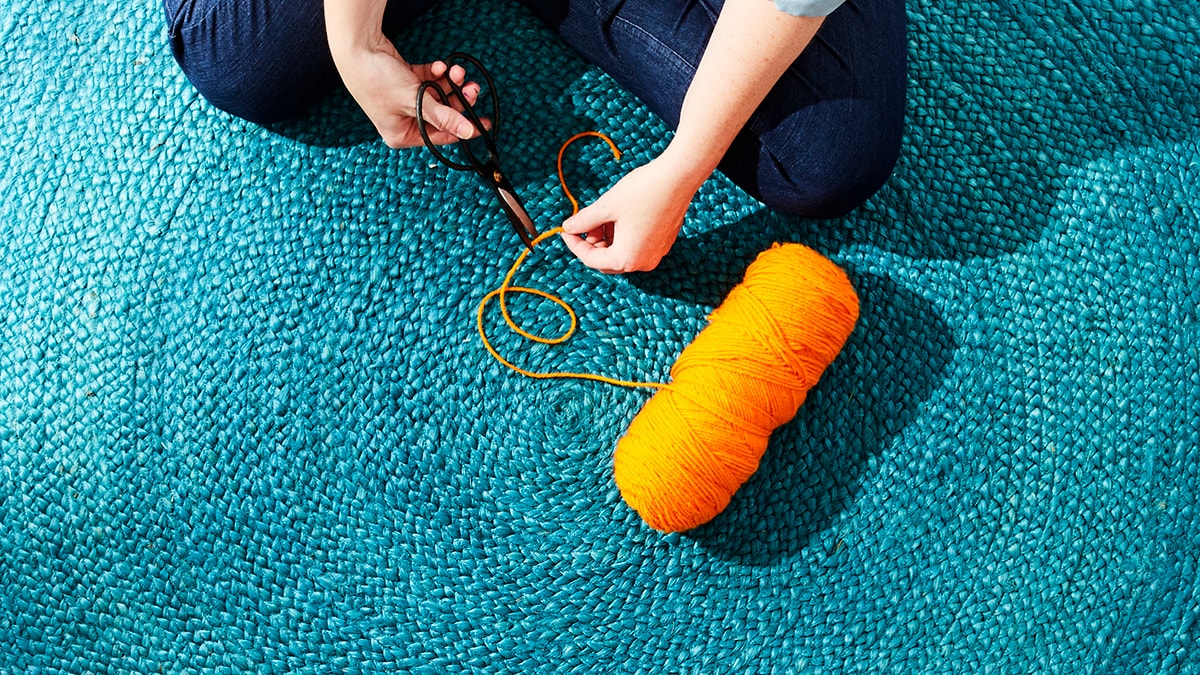
- Cut two 3-inch pieces of yarn and use them to tie off each side of the curtain.
via Chewy Studios
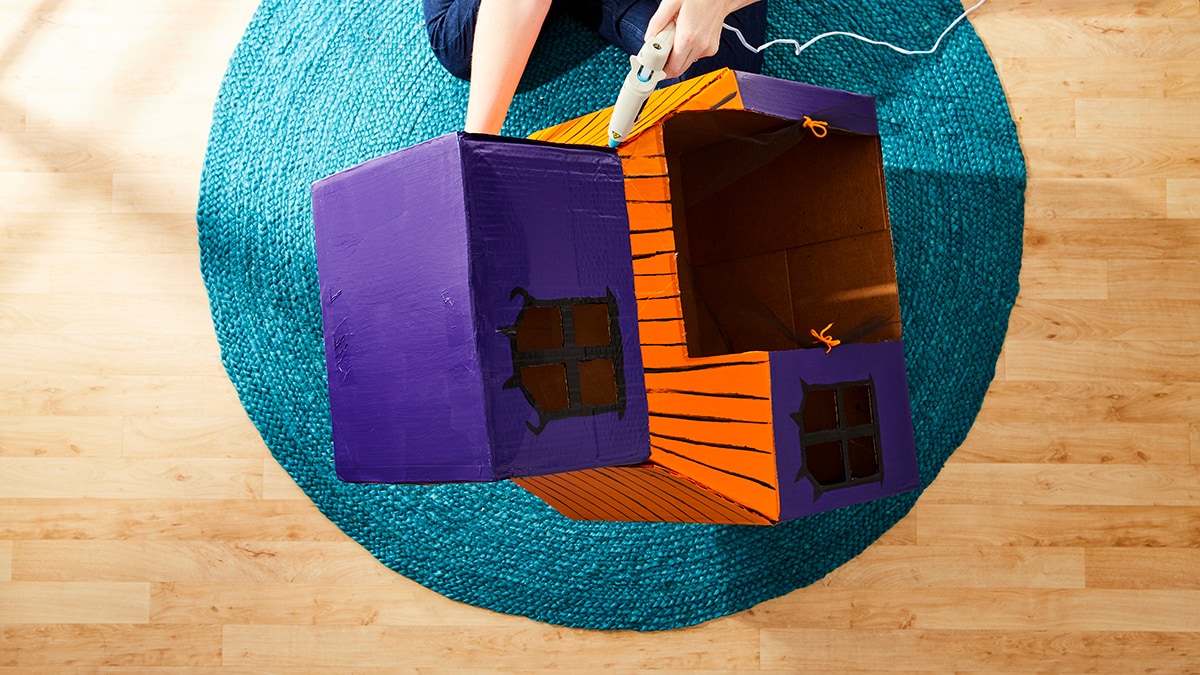
- Start to assemble the pieces of your house using a hot glue gun. Glue the medium box to the top of the large box, add your small box on top, then hot glue the chimney on the side of the medium box and the roof onto the small box.
via Chewy Studios
- Add triangle to the top of the door.
via Chewy Studios
- Use black paint to add details like trim around the windows or spooky accents.
- Add any additional Halloween decor you’d like, such as pumpkins, leaves, skeletons or spider webs.
via Chewy Studios
via Chewy Studios


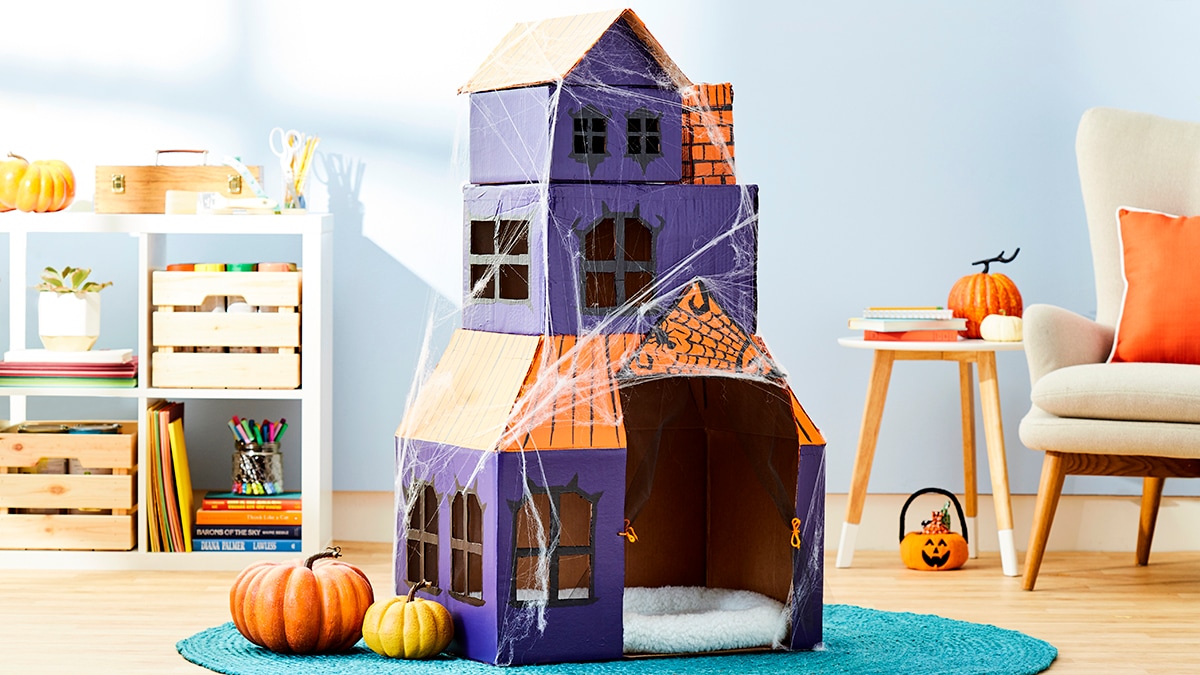
Happy Howl-o-Ween! Be sure to also check out our DIY “candy corn” dog treats, too!
By Alicia Boemi
Share: