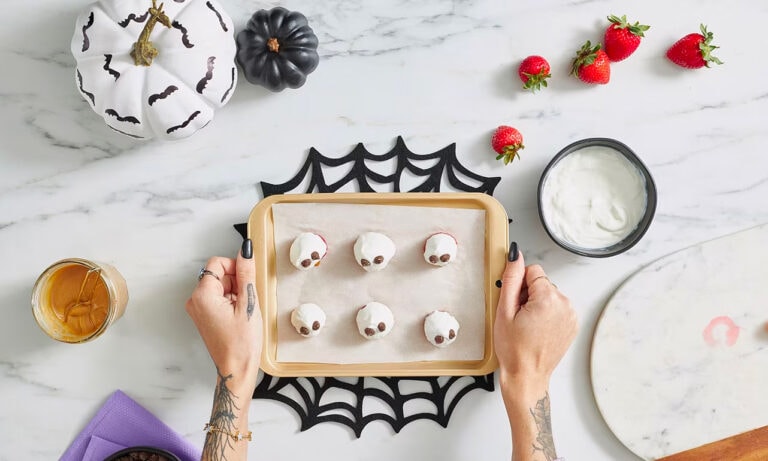
During the spookiest time of year, decorating your house is a must. With DIY Halloween decorations, you can celebrate both Halloween and your love for pets.
Halloween crafts can be as simple as taking a cardboard box and transforming it into a silhouette of a spooky scene. We’ve created silhouette templates to take your DIY Halloween decorations up a notch this October.
1. DIY-Silhouette-Cat-Stencil
2. DIY-Silhouette-Haunted-House-Stencil
3. DIY-Silhouette-Paw-Stencil
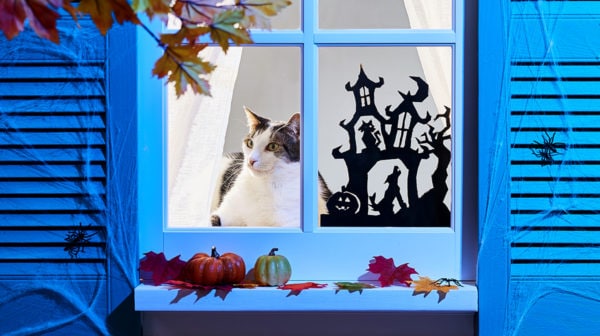
All you have to do is pick a template that best appeals to your inner craftsman and carve the design out of a piece of cardboard. Then you’ll have a silhouette to place on your windowsill to greet trick-or-treaters. Or, use all four sides of your cardboard box and create multiple silhouettes to hang against all of the windows of your home. Showing off your little monsters couldn’t get any more fun than creating these simple, pet-inspired Halloween crafts.
Supplies:
- Printed Silhouette Template
- X-Acto Knife
- Cardboard Chewy Box
- Glue Stick (or Glue Gun)
- Acrylic Black Paint
- Soft Bristled Flat Paint Brush
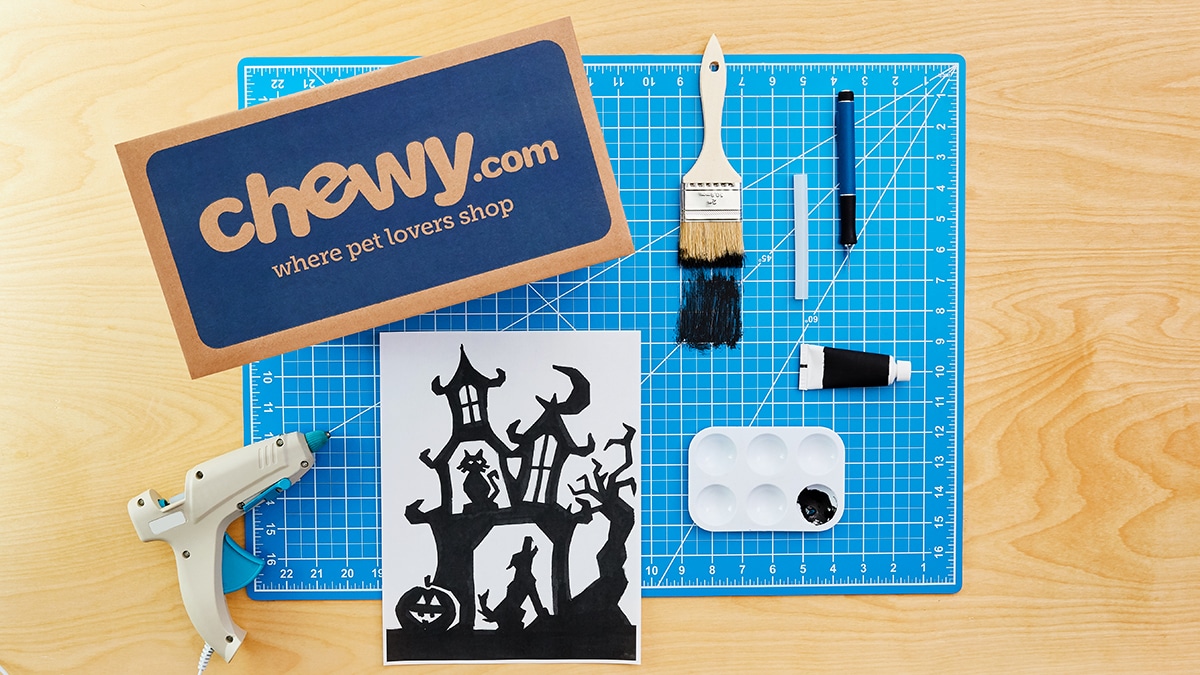
via Chewy Studios
Instructions:
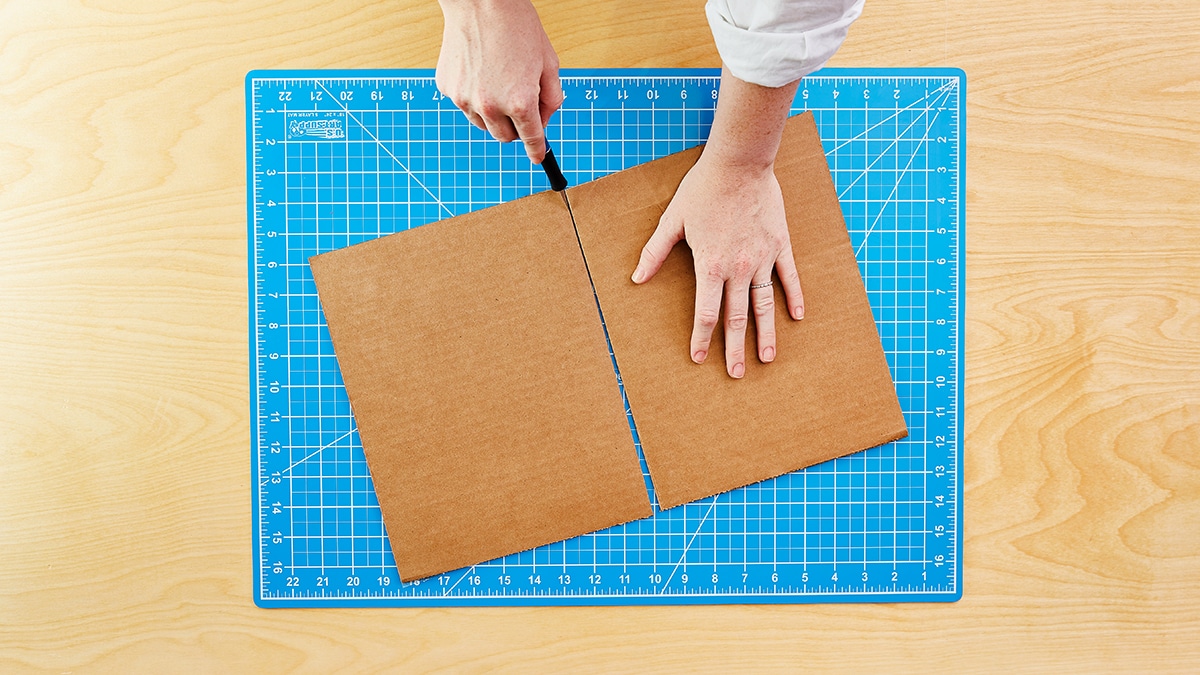
- Find a hard, cut-friendly surface to start building your silhouette. Alternatively, you can place a few layers of cardboard on top of a sturdy table to make it scratch proof.
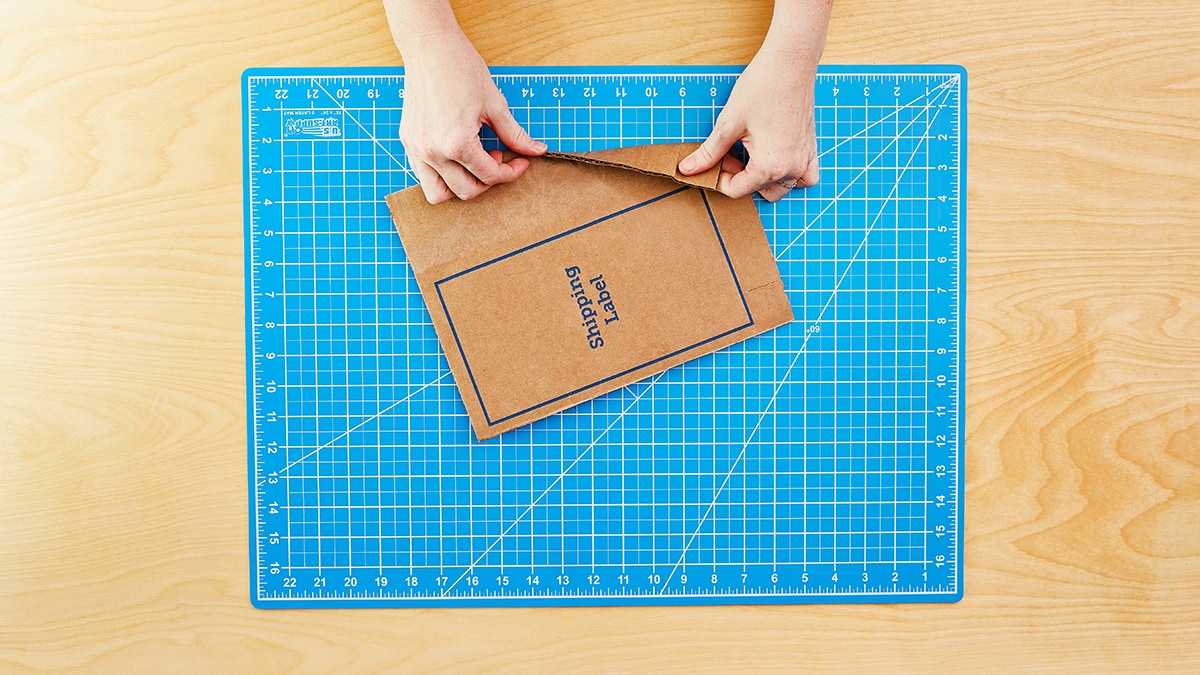
- Cut out a section of your Chewy box that is larger than 8×11 inches.

via Chewy Studios
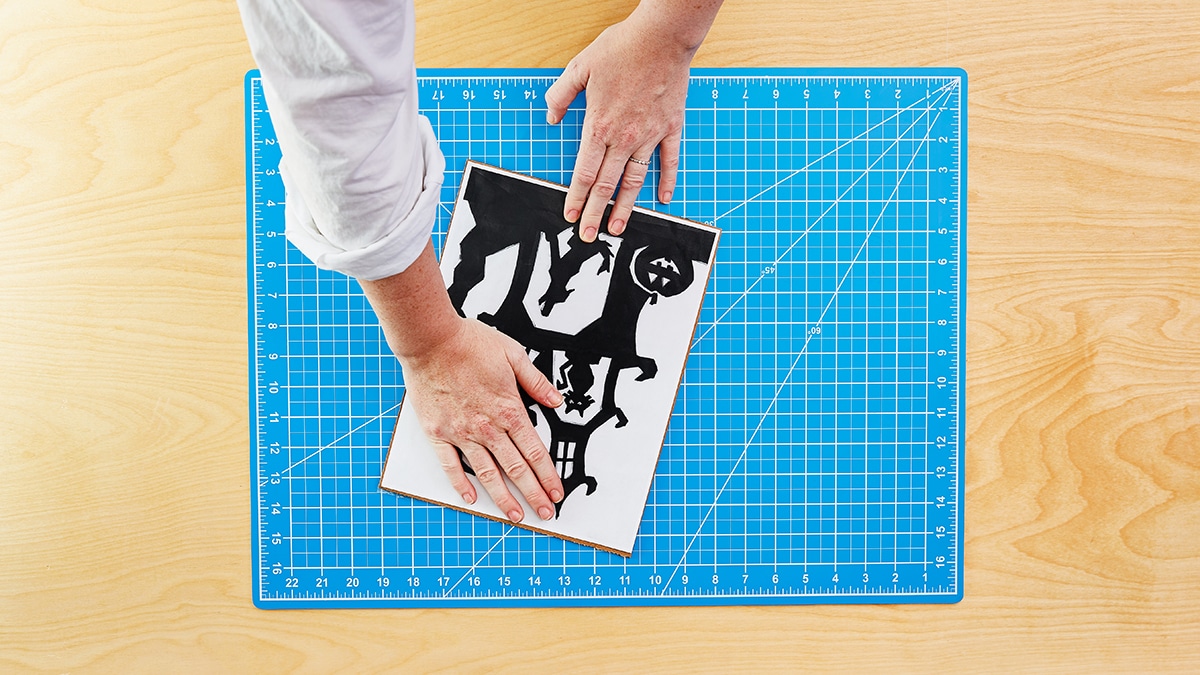
- Use the glue stick (or glue gun) to glue the silhouette template onto the cardboard. Make sure to glue the entire template from the edges to the very middle.
- Press down with the palm of your hands to smooth the template and release any air bubbles.
via Chewy Studios
- Let it dry for a few minutes.
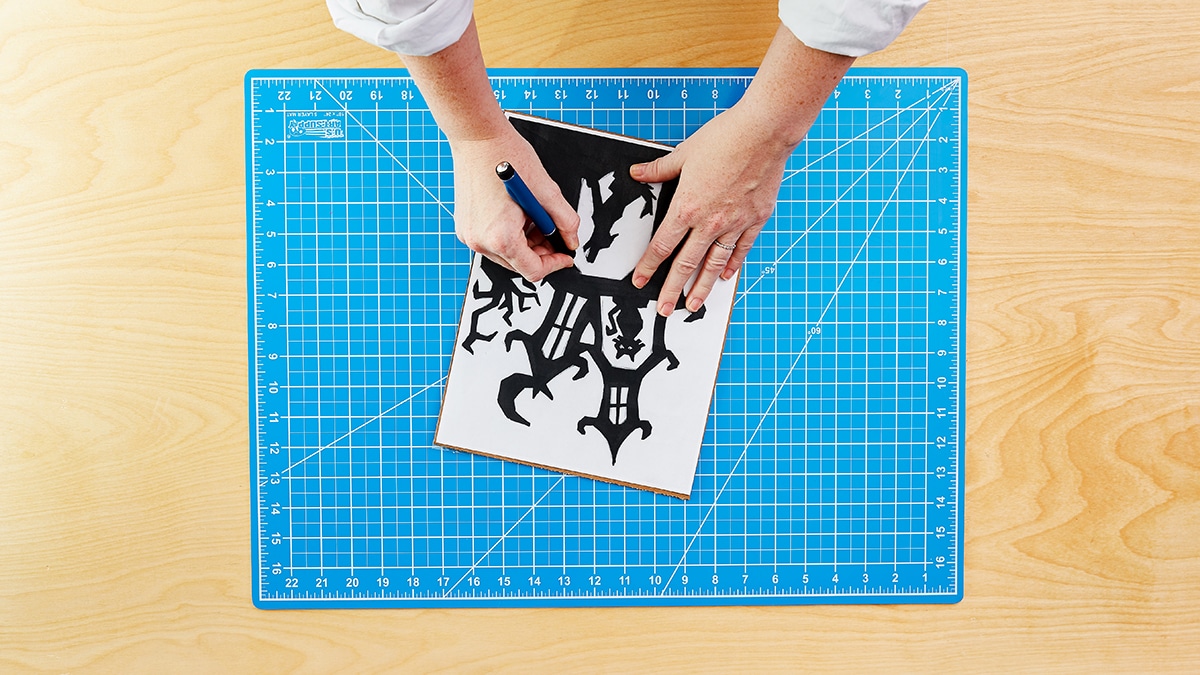
- Using the X-Acto knife, start cutting out the silhouette. Note: Start cutting at the center (more detailed areas) and then work your way out, leaving the outside border for the end. The more surface area you have for support, the easier it will be!
via Chewy Studios
via Chewy Studios
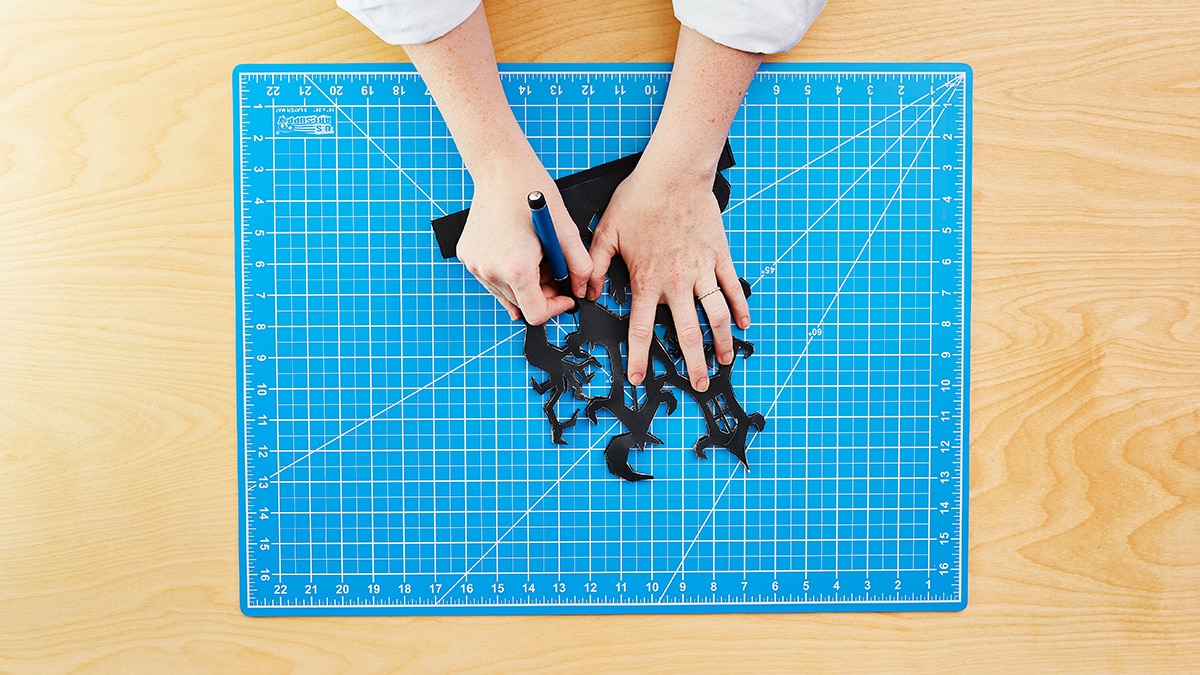
- After you’ve finished stenciling the template, place it on leftover cardboard.
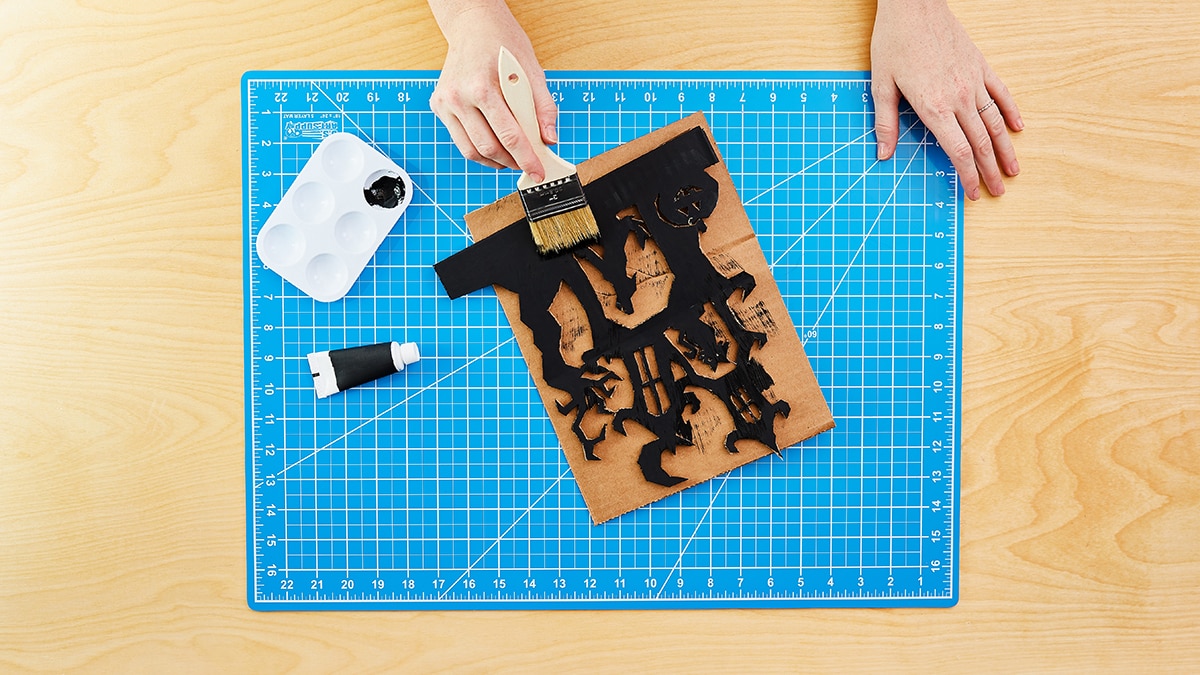
- Paint the stencil black to cover any blemishes and let it dry.
via Chewy Studios
- Repeat above step to apply additional coats of the paint if required.
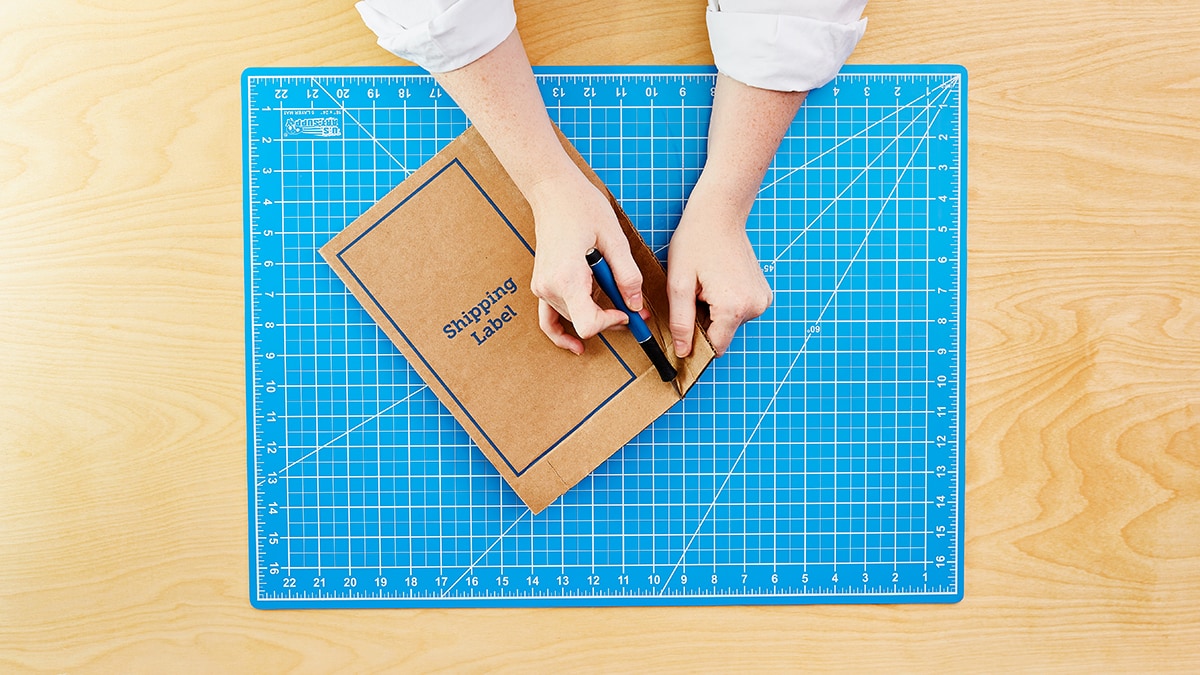
- Use a leftover piece of cardboard from your Chewy box and fold a corner 1 inch forward.
via Chewy Studios
- Using the X-Acto knife, cut the folded corner piece into a triangle.
via Chewy Studios
- Glue it to the back of the stencil, forming a stand. Set it aside to dry.
via Chewy Studios

Once dry, display your stencil on a windowsill to bring in the Halloween spirit!
By Shivani Kakkar
Share: