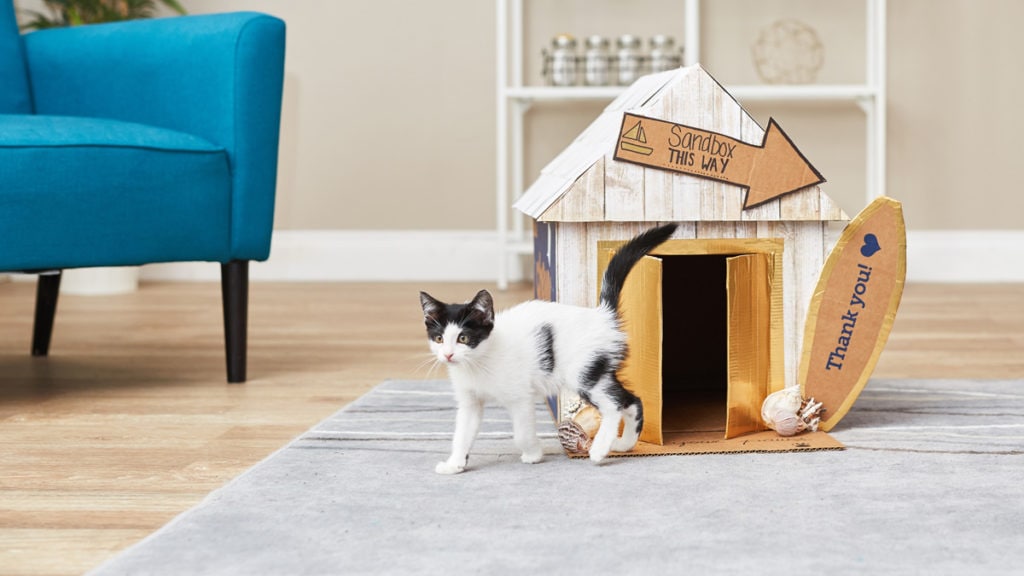
Our cardboard DIY arts and craft ideas make unloading the Chewy box only the beginning of the excitement! Have you been looking for a pet craft that gives your cat a place to hang ten and chill out? Look no further! This cardboard DIY box craft transforms your Chewy box from a precious treasure chest of pet supply goodies to a surf-themed kitty haven.
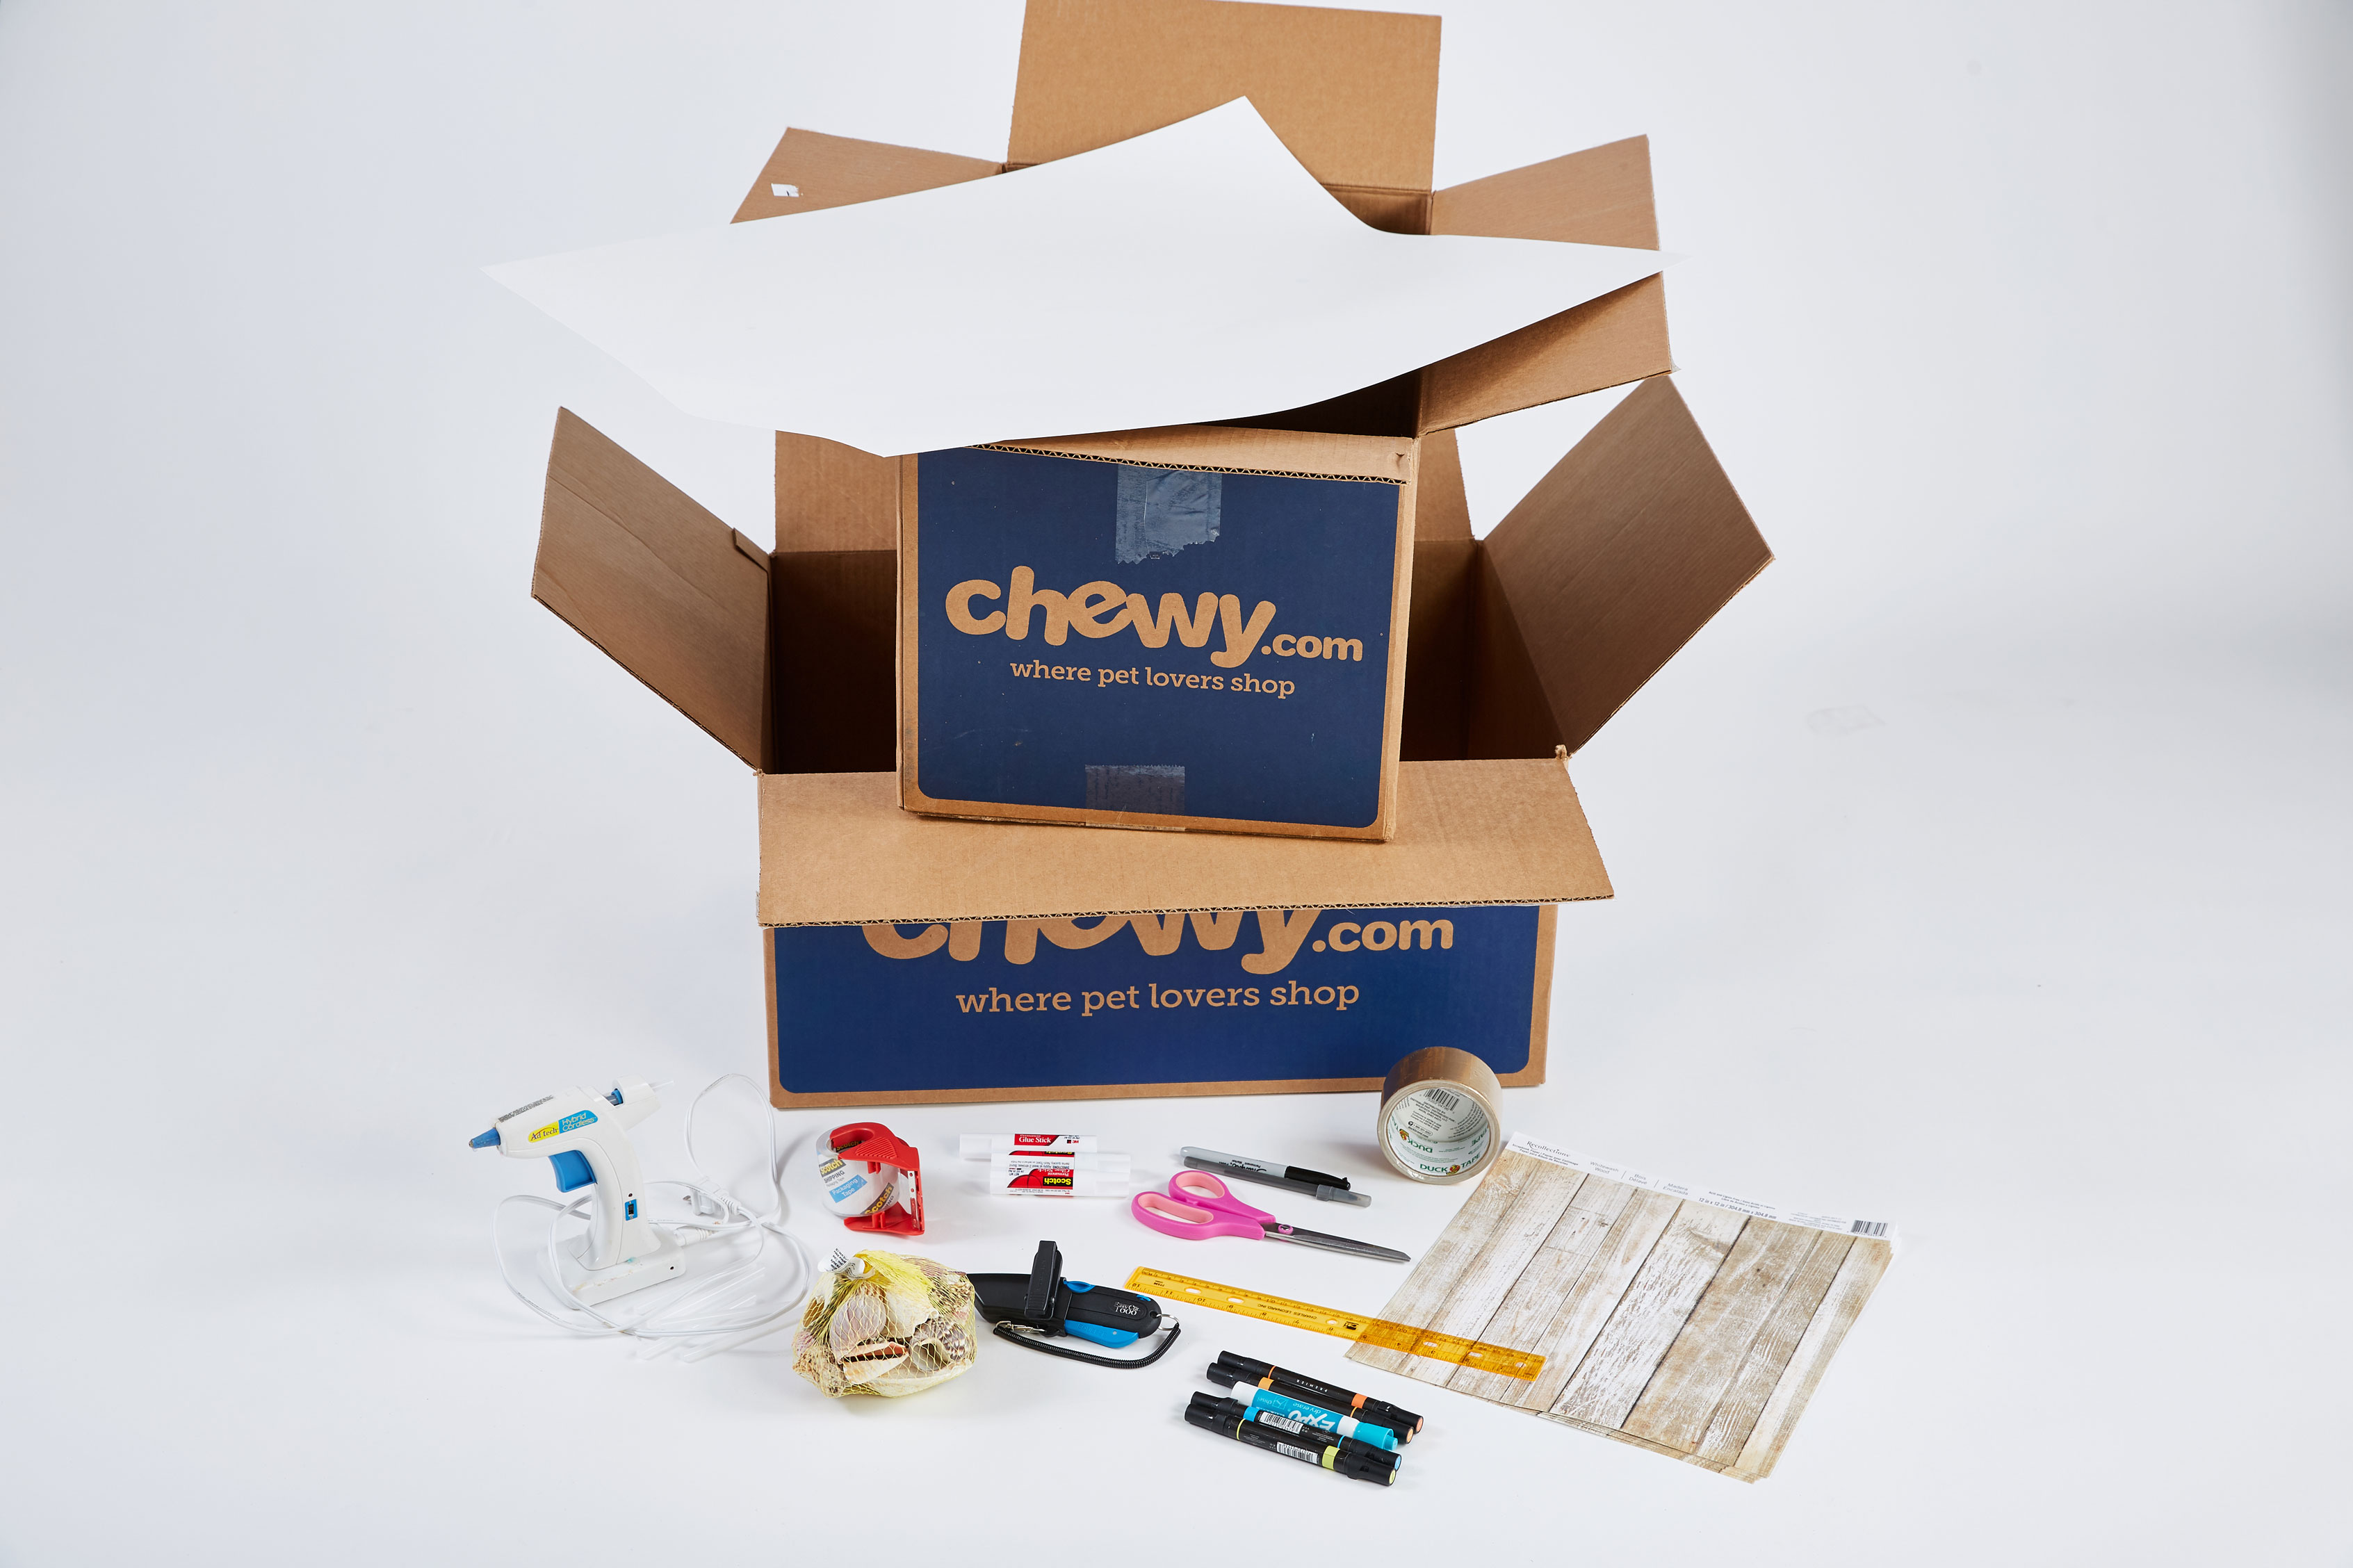
Materials: Two large, rectangular Chewy boxes (our measurements are given for a 22 x 14 x 12 inch box and a 24 x 17 x 11 inch box), duct tape, scrapbook paper, ruler, poster board, scissors, box cutter, glue sticks, glue gun, packing tape, pen or pencil
Optional Materials: Stencils, pet bed or cat scratcher, small Chewy boxes, shells
Steps:
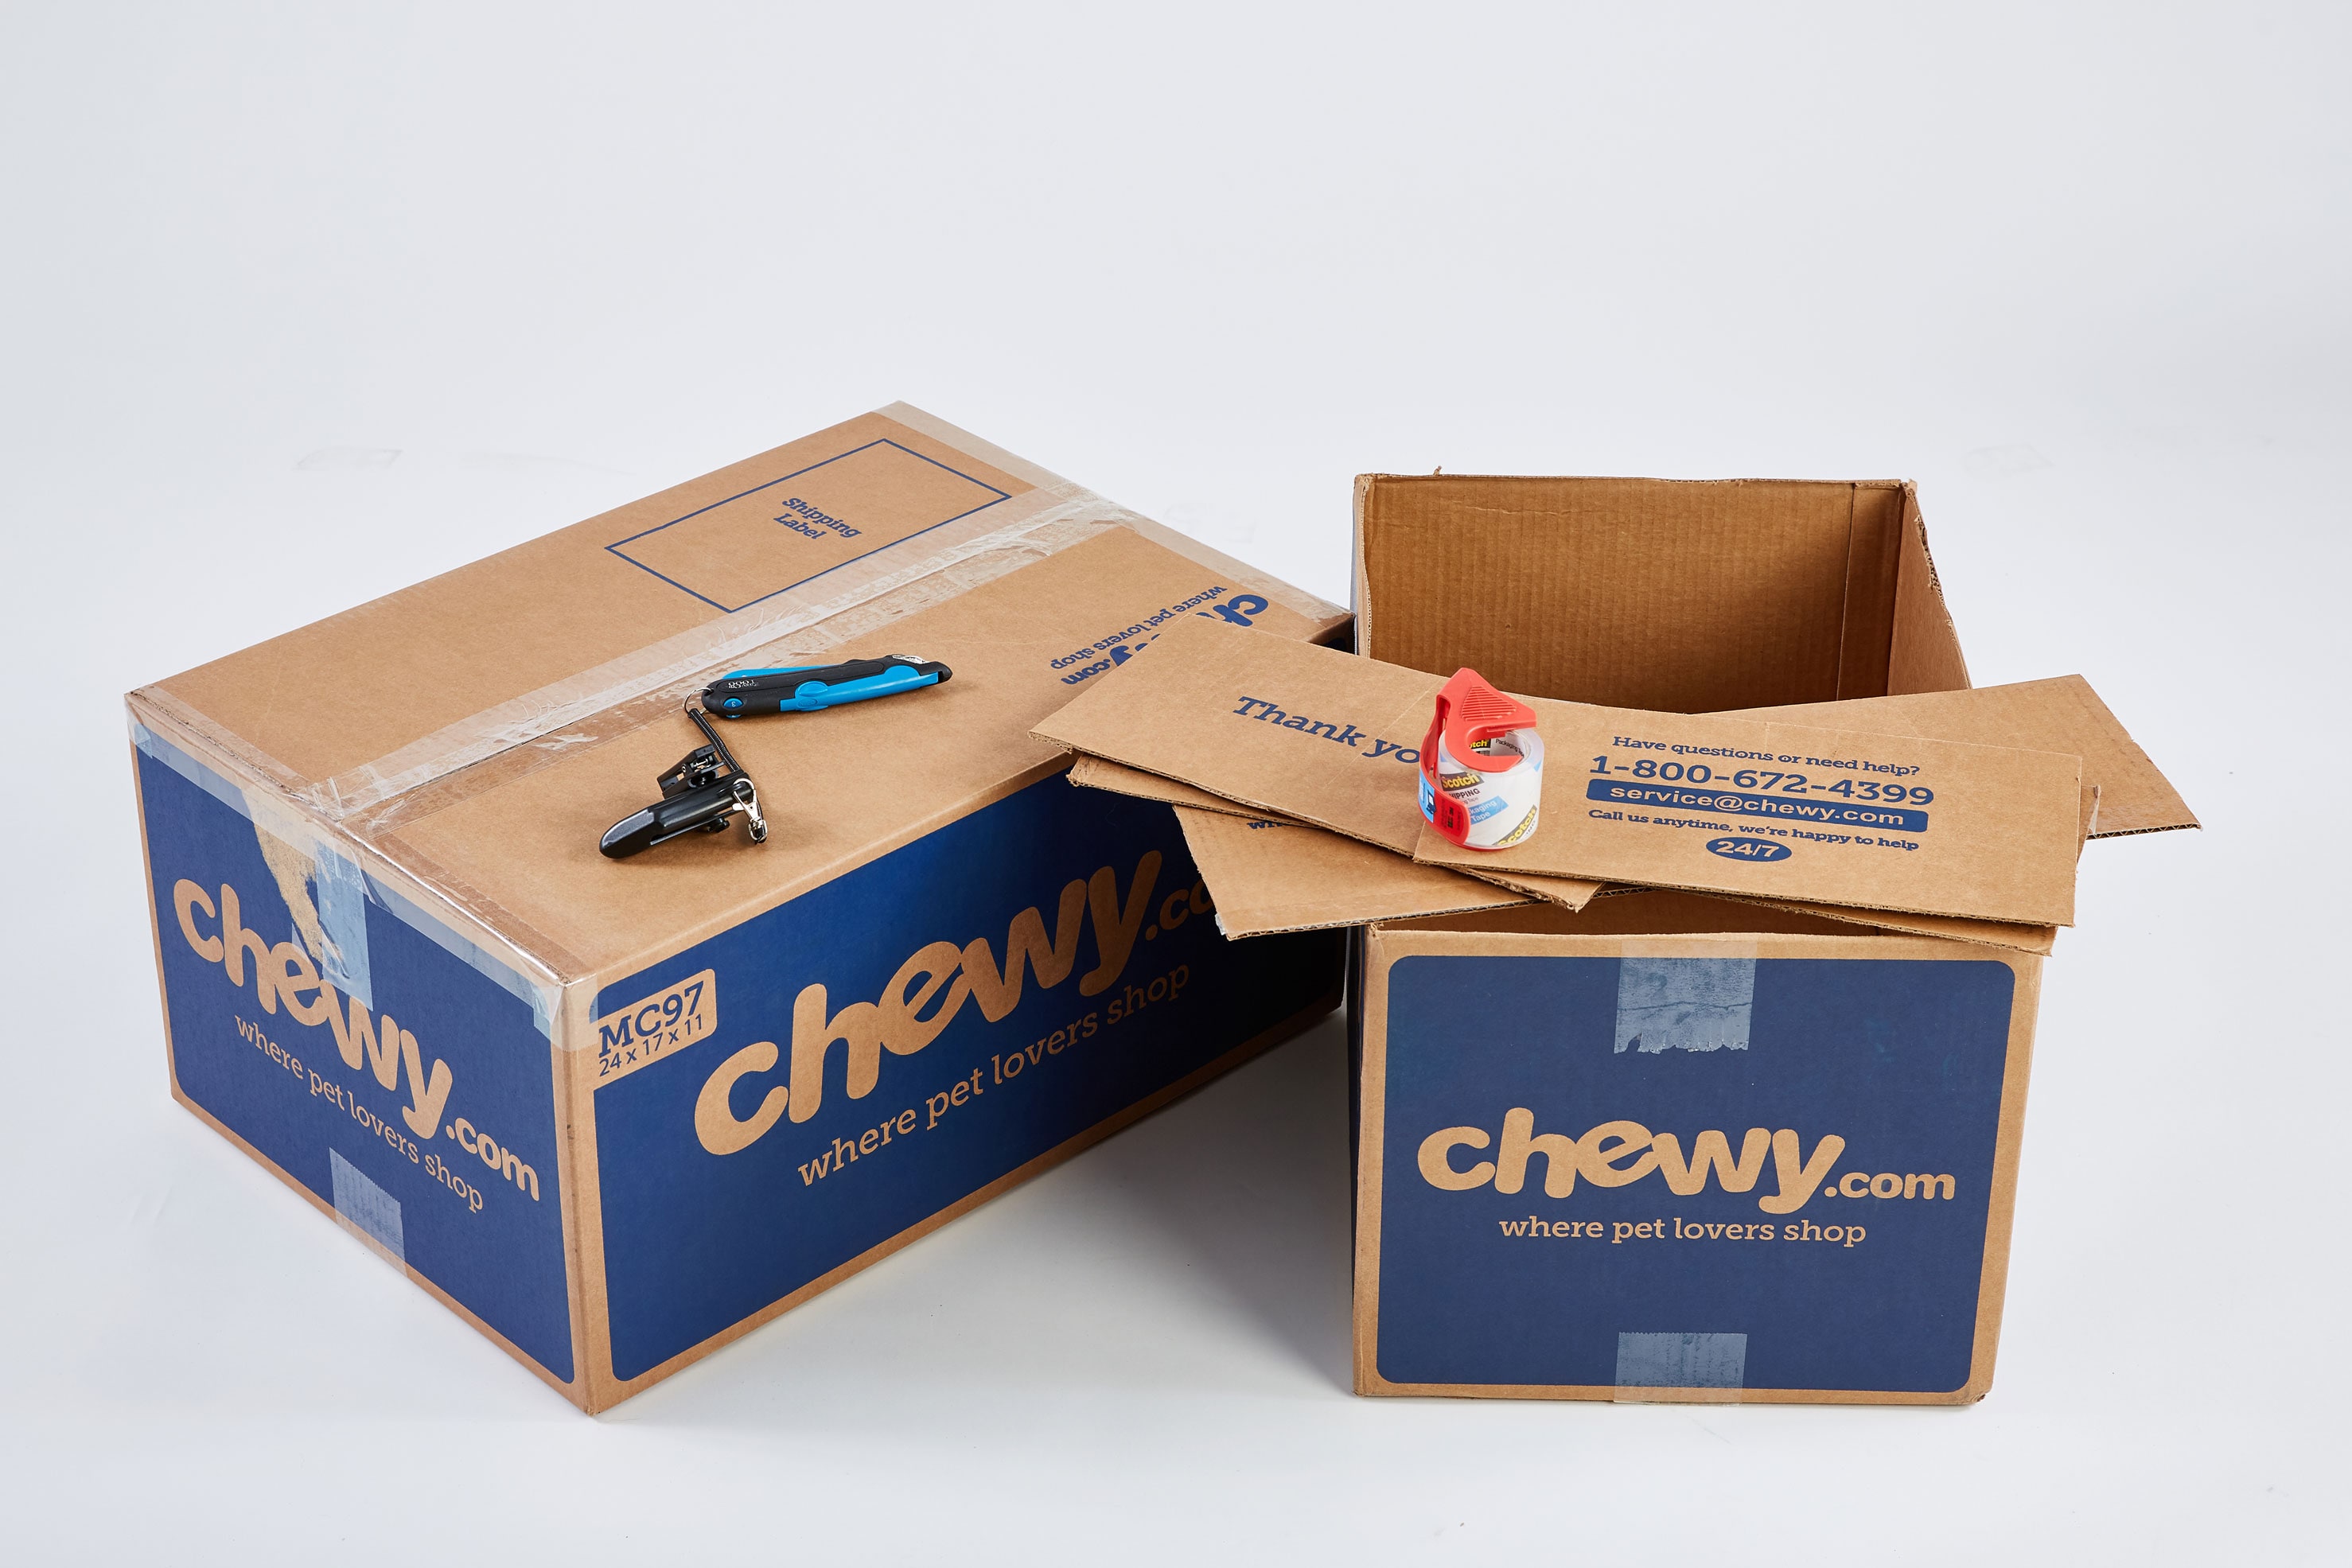
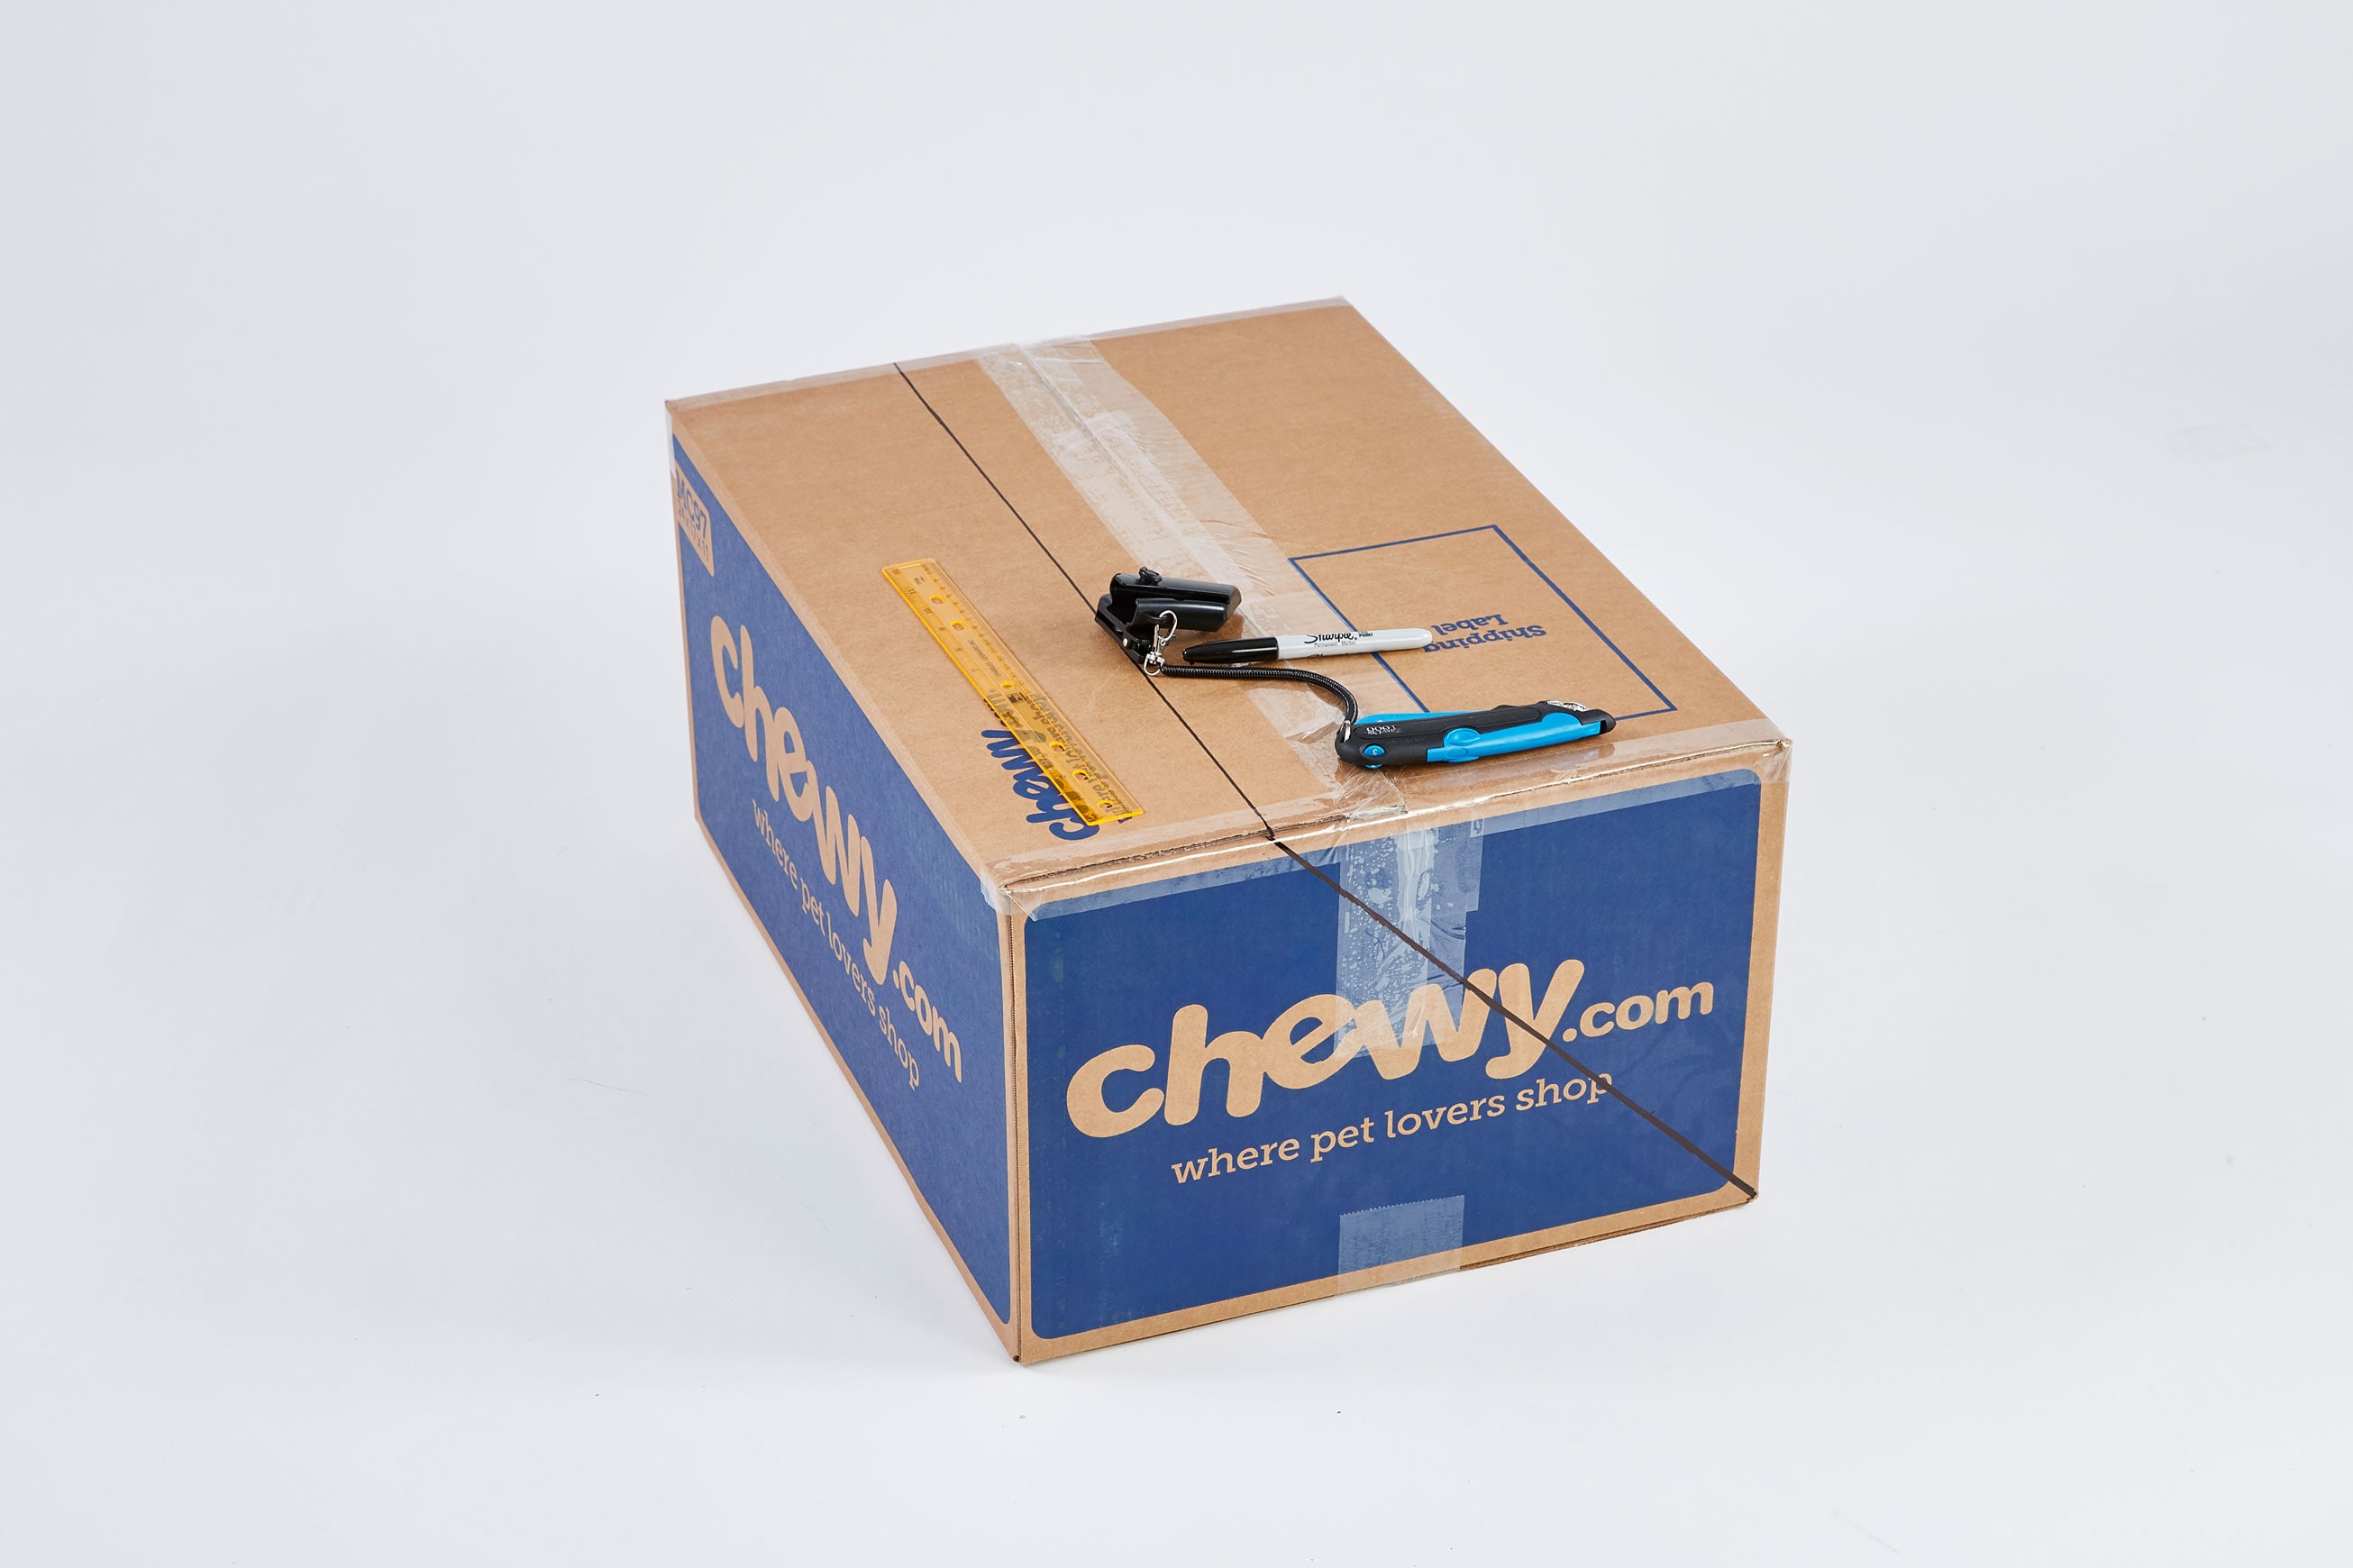
1. Cut the top flaps off of the 22 x 14 x 12 inch box, and set aside. Tape the top flaps of the other box down using clear packing tape.
2. On the 24 x 17 x 11 inch box, measure 11 inches in from the top right corner on a short side and draw a diagonal line to the bottom right corner to form a right triangle.
3. Mirror this on the other side of the box and connect.
4. Cut along these lines on both short sides of the box and across the long side.
5. Cut along the bottom of the one long side of the box that connects the two short cuts to create a roof for your beach shack.

6. Cut up rectangular strips of white poster board and glue them onto the long sides of the roof to create a shingles illusion.

7. Take the other box, and measure in 3 inches in from the left and right sides, as well as 3 inches from the top edge on one of the short sides. Connect these to create a rectangle. This will be the front of your pet’s surf shack.
8. Cut the short flap out from the front of the shack.
9. Make cuts along the top and bottom of the rectangle, and cut directly in the middle from top to bottom. Do not cut sides. Fold to create a two-door entry.

10. Use a glue stick to glue the scrapbook paper onto the front and back sides of your shack and roof.

11. Use duct tape to decorate the doors, and create a doorframe.

12. Use a hot glue gun to attach the roof to the shack frame.

13. Using one of the long flaps that you cut off at the beginning, cover an inch-wide strip on one side with glue, and attach it underneath the front of the beach shack. The rest of the flap should extend in front of the entrance to create a welcome mat.
14. Use a short flap to create a custom surfboard.
Optional Steps:
15. Use the stencils and poster board to decorate, and glue the shells on to the welcome mat for the ultimate beach feel.
16. Take any extra-small Chewy boxes that you may have to create a garage and mailbox for your kitty. You can also create a cobblestone driveway for your box craft. Be sure to make your cat’s new hangout spot cozy with a catnip-filled cat scratcher, or turn it into a dog craft with a cozy dog bed.
If you’re a cardboard DIY crafts expert with tons of arts and craft ideas, you can change the dimensions of our pet craft, and use multiple boxes to build the Chewy box beach shack around your pet’s crate! Go decorations-crazy, and turn this cat craft or doghouse into the hippest place in the house.
Share: